Salesforce Connector
When a connector process is submitted, the process will connect to the Salesforce cloud instance, downloading the data and populating the local database. This process can be scheduled to run every night by a Salesforce Developer/Business analyst/System Administrator.
To create a Salesforce Connector:
- Navigate to Admin > Cloud Connectors.
- Click Create Cloud Connector icon to display a Create Connector window.
- Click Save.
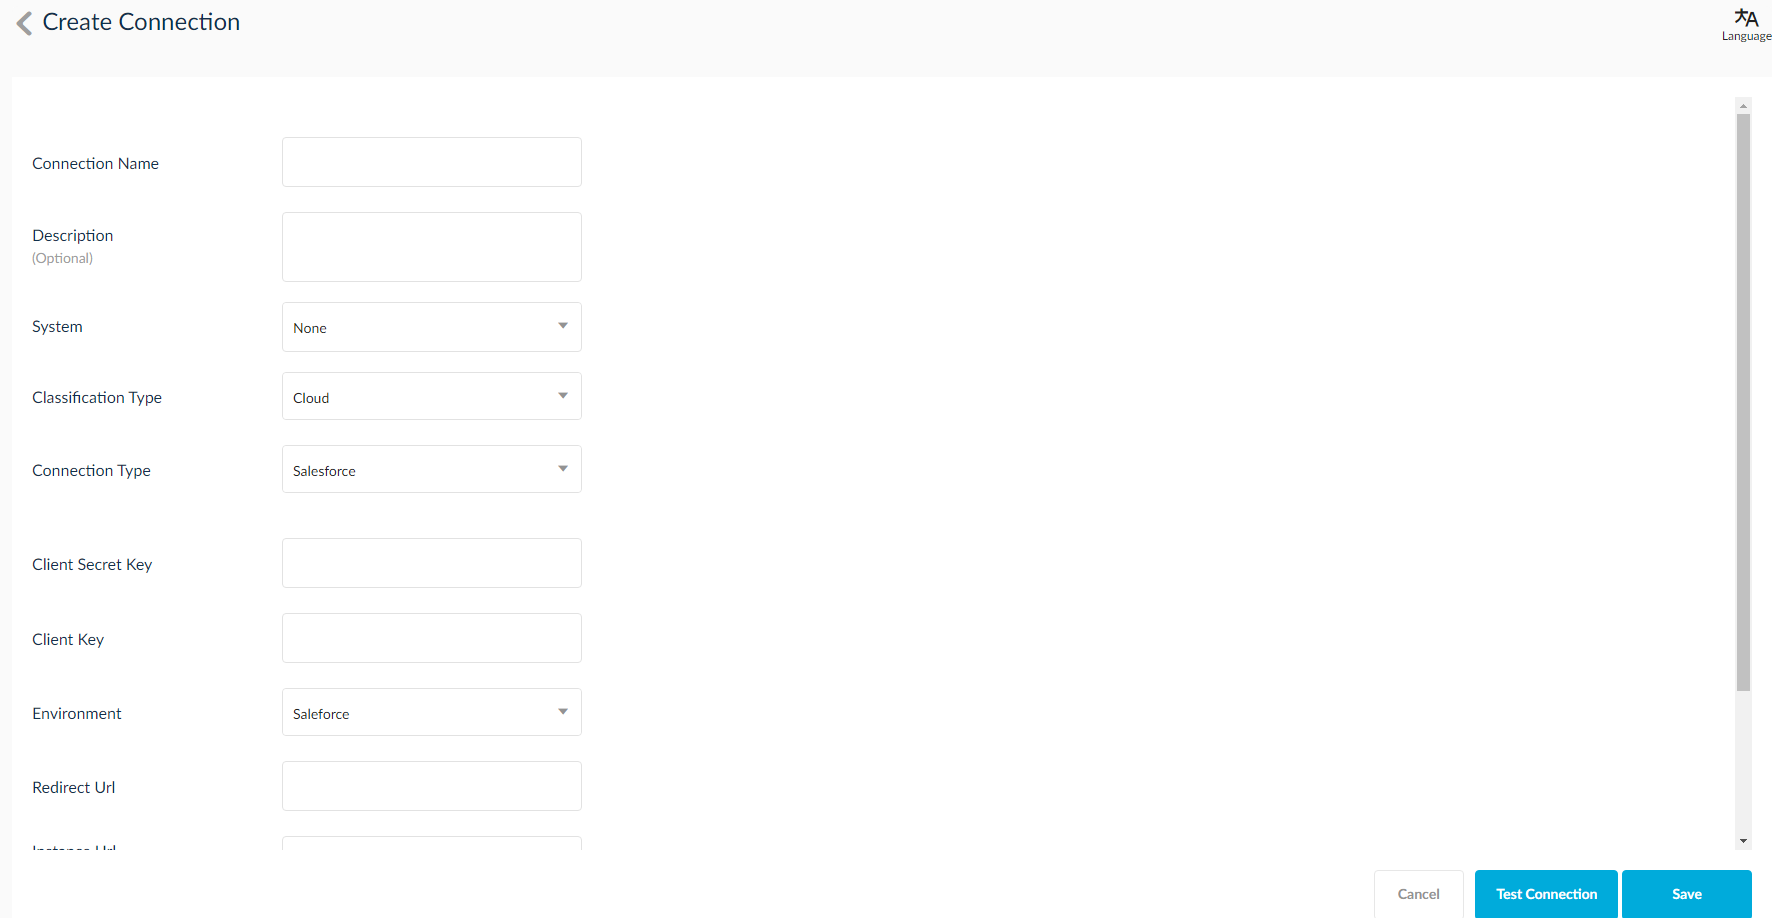
Salesforce Connector Parameters
- Cloud Application: Select Salesforce from the drop down.
- Connector Name: Provide a name for the connector.
- Source Connection: Select a Salesforce type cloud connection in the drop down to download the data from cloud. If connection is not available, user can create a new cloud connection by clicking Source Cloud Connection icon in the pop up.
- Destination Connection: Select database type connection to populate the downloaded data. If connection is not available, user can create by clicking on Create Destination Connection icon in the pop up.
- Prefix: Give a prefix with maximum of 3 letters. Prefix will be used when tables are created in the destination database. Ex: “SA1” is prefix and the created tables will be displayed as SA1_ACCOUNTS.
Running the Salesforce Connector
To run the Salesforce connector:
- Navigate to Admin > Cloud Connectors.
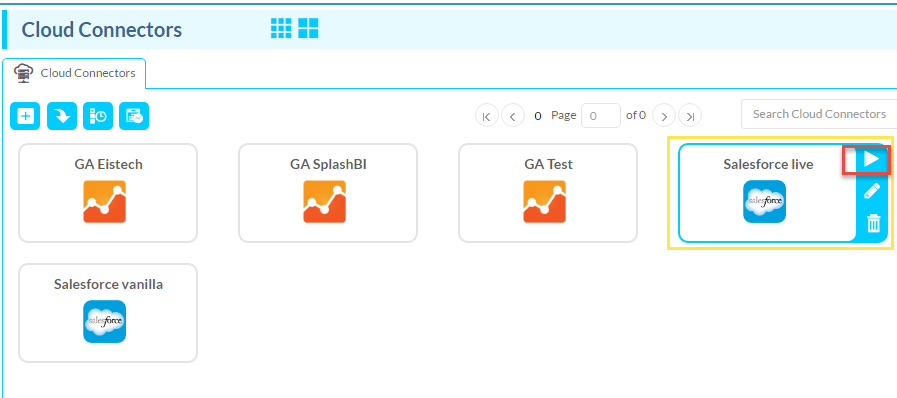
2. Click the Run icon (highlighted in Red color) to navigate to Process Submit.
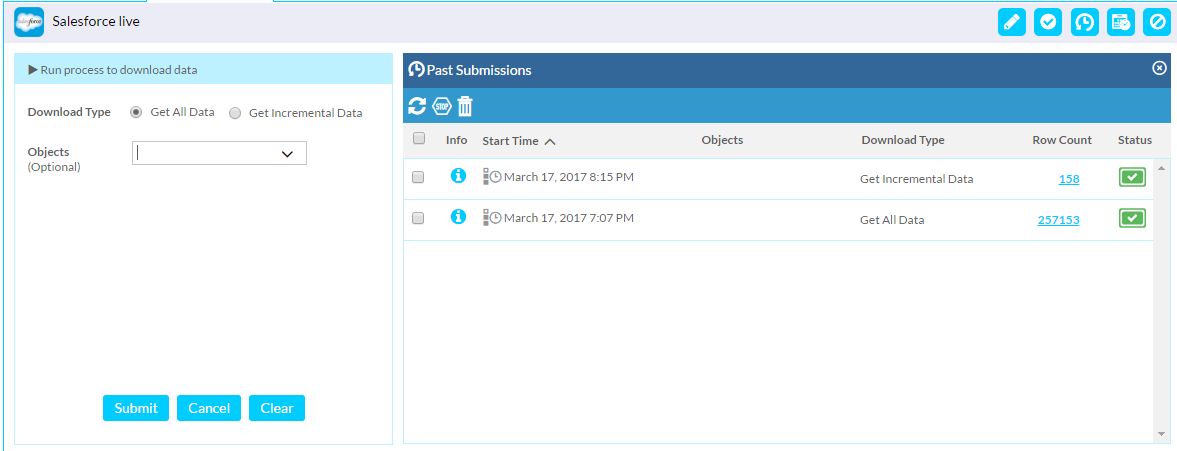
Running Salesforce Connection Parameters
- Download Type: There are two options:
- Get All Data: Download full/complete data.
- Get Incremental Data: Only downloads data which is updated/added after last downloaded time.
- Objects: If the user selects an object, the selected objects are only downloaded. If no object is selected, then all the objects data will be downloaded.
NOTE: Follow the same steps to submit any of the Cloud Connectors after choosing the respective Connector in Admin > Cloud Connectors screen.