Clients
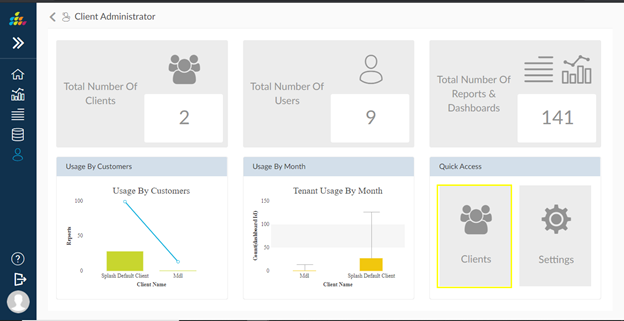
Users of Splash BI can create multiple clients for using the application. To view the client details from the home page of Client Administrator, click on the Clients icon highlighted in the below screen to navigate into All Clients screen.
- Clients created for the SplashBI application will be displayed here. In this tab the user can create new client, delete existing clients & edit client details.
![]()
- Creating a New Client
To create the new client:
- Click the Create icon to create new client.
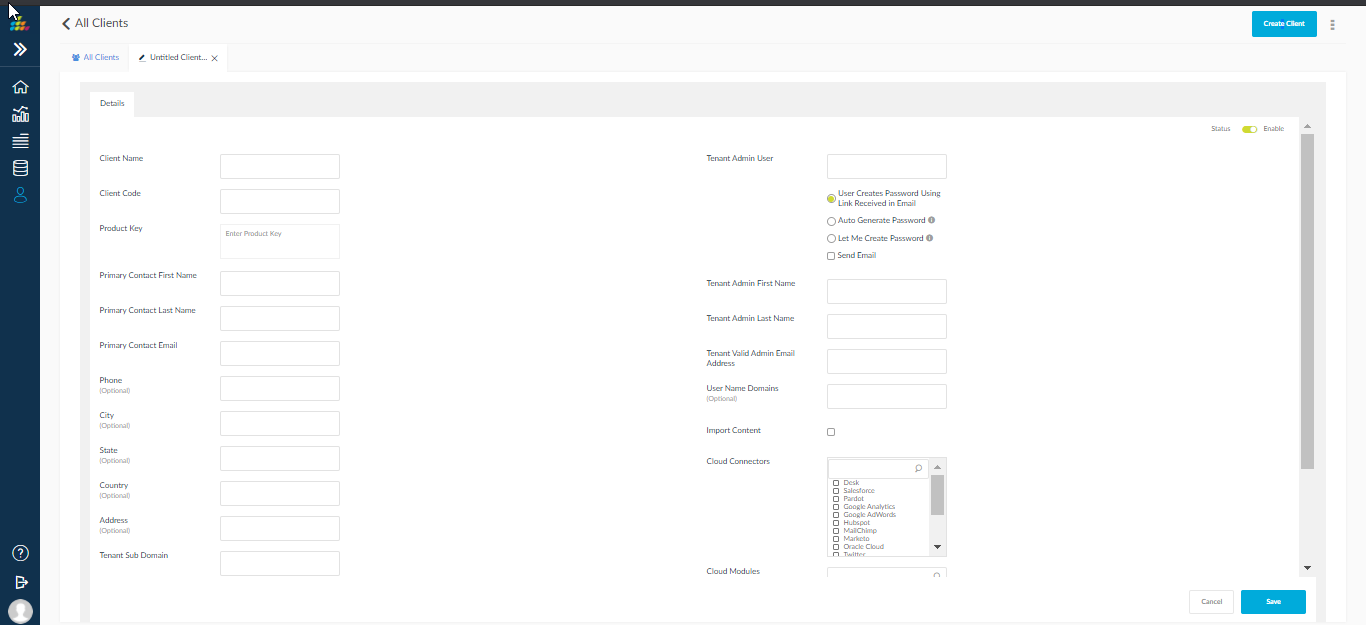
- Enter the details in the pop up displayed below.
- Default Admin: Provide default admin name in this field in order to create default admin for that particular client.
- Click Save.
2. Settings: Displays all the default Settings. To know more, click here.
3. Refresh: Refreshes the Clients list.
Editing Client
Click the ![]() icon to enter into Edit page of Client. It contains three tabs Details, Settings & Connections.
icon to enter into Edit page of Client. It contains three tabs Details, Settings & Connections.
Details Tab
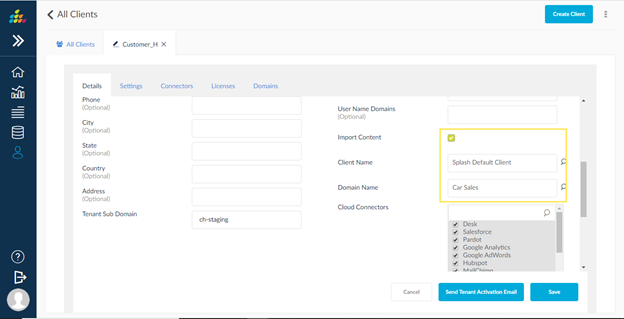
- Master Tenant: Converting a tenant/client into a master tenant allows the user to import the content to other tenants. This process eliminates the need to create reports and dashboards again if the same meta data is used. More than one tenant can be a master tenant.
- Primary Contact First name: Primary Contact First Name of client.
- Primary Contact Last name: Primary Contact Last Name of client.
- Primary Contact Last name: Primary Contact Email of client.
- Tenant Admin First name: Tenant Admin user first name.
- Tenant Admin Last name: Tenant Admin user last name.
- Tenant Admin Email Address: Tenant Admin user Email Address.
- Tenant Sub Domain: Sub Domain of Tenant ,this sub domain has clients own information.
- User Creates Password using Link received in Email: User create password from email activation link.
- Auto Generate Password: Using this option user can auto generate password.
- Let Me Create Password: Using this option user create own password.
- Send Email: Using this option user receive the generated password (or) password link to set new password
Import Content: Content can also be imported from Import Content option. The user is provided with two options.
Import from Specific Client: Select the client from the LOV provided, it will list out the master tenant client list.
Import from Specific Domain: Displays the domains list for that specific client, select domain from which the content should be imported.
Settings Tab
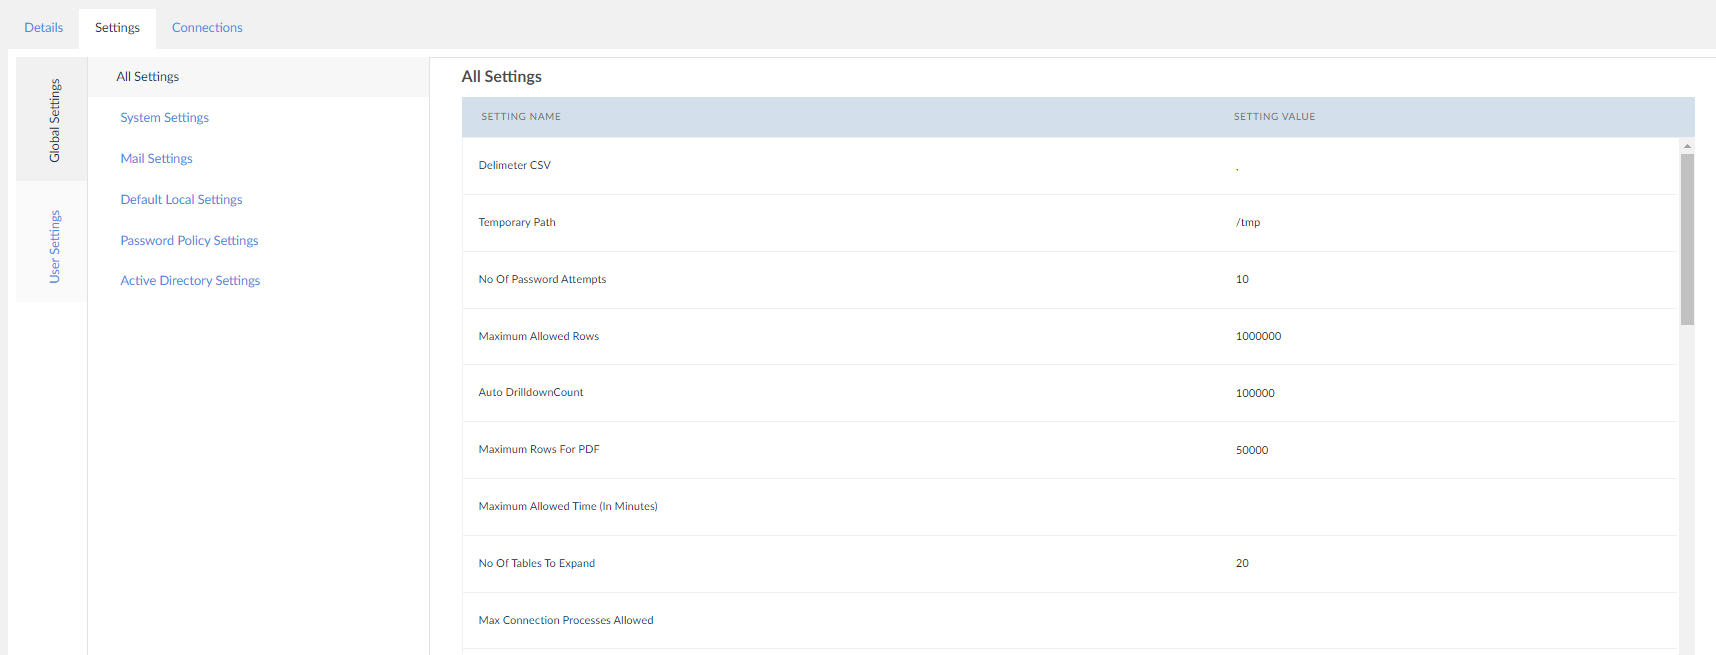
Client level settings can be modified from this tab. It provides both Global Level & User Level settings for that particular client. Click Settings to know more about settings in detail.
Connections Tab
Connections created for a specific client will be displayed in this page. Two options Display & Edit are available here.
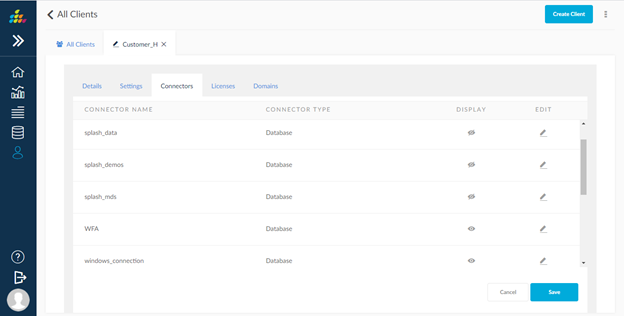
Display: Enabling Display option will display this connection in the connections page. If set to False, the connection will be hidden. After changing this option click on Save.
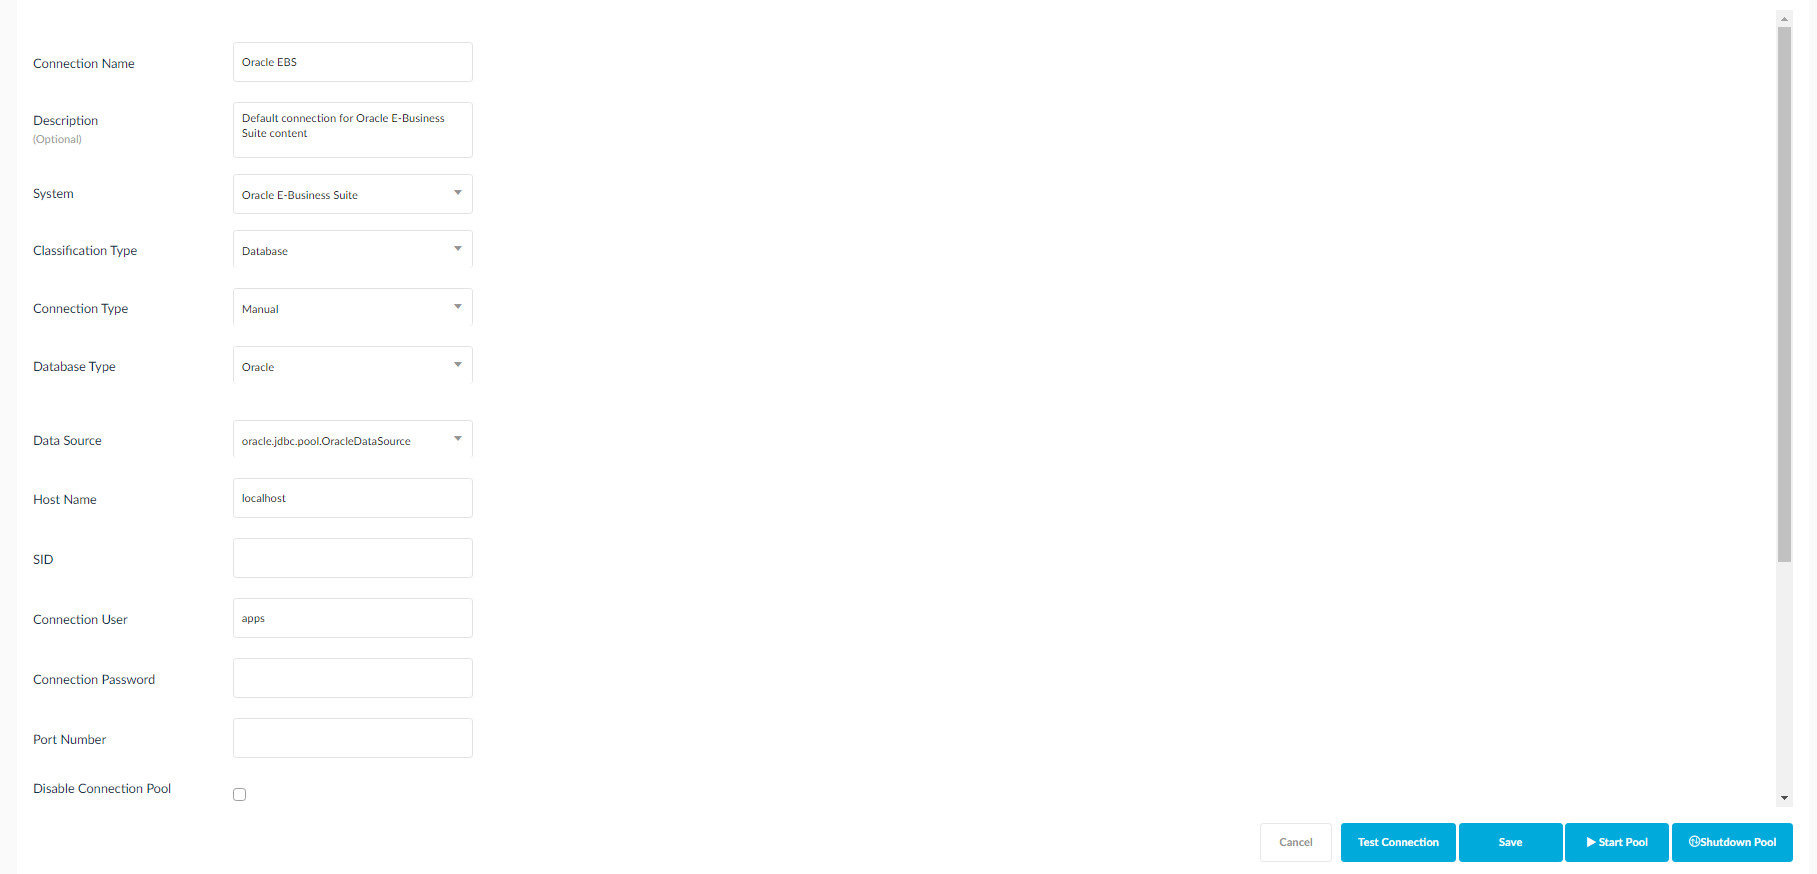
Edit Connection: Existing connection details can be edited using this option. A pop up with connection details is displayed.
5. Delete: Click on this button to delete that specific client.
6. Search: Use this to search for any client by entering the name in the text box.
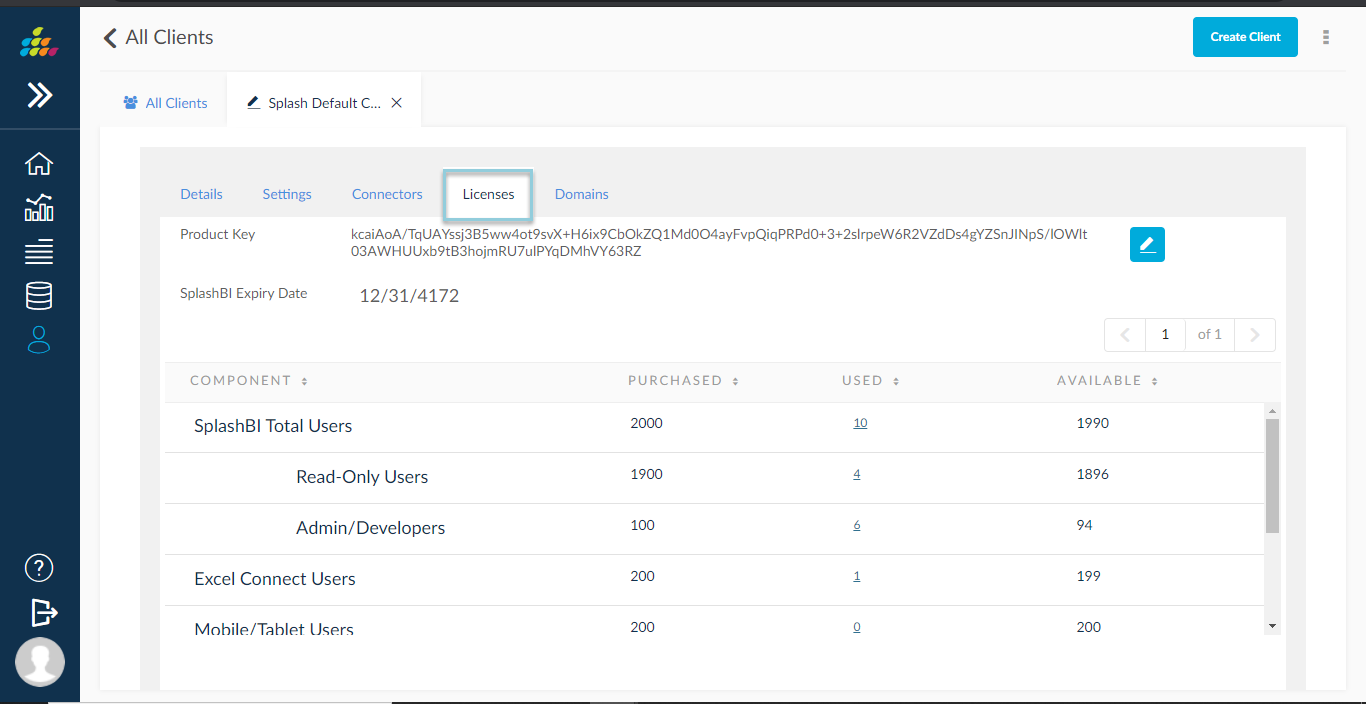
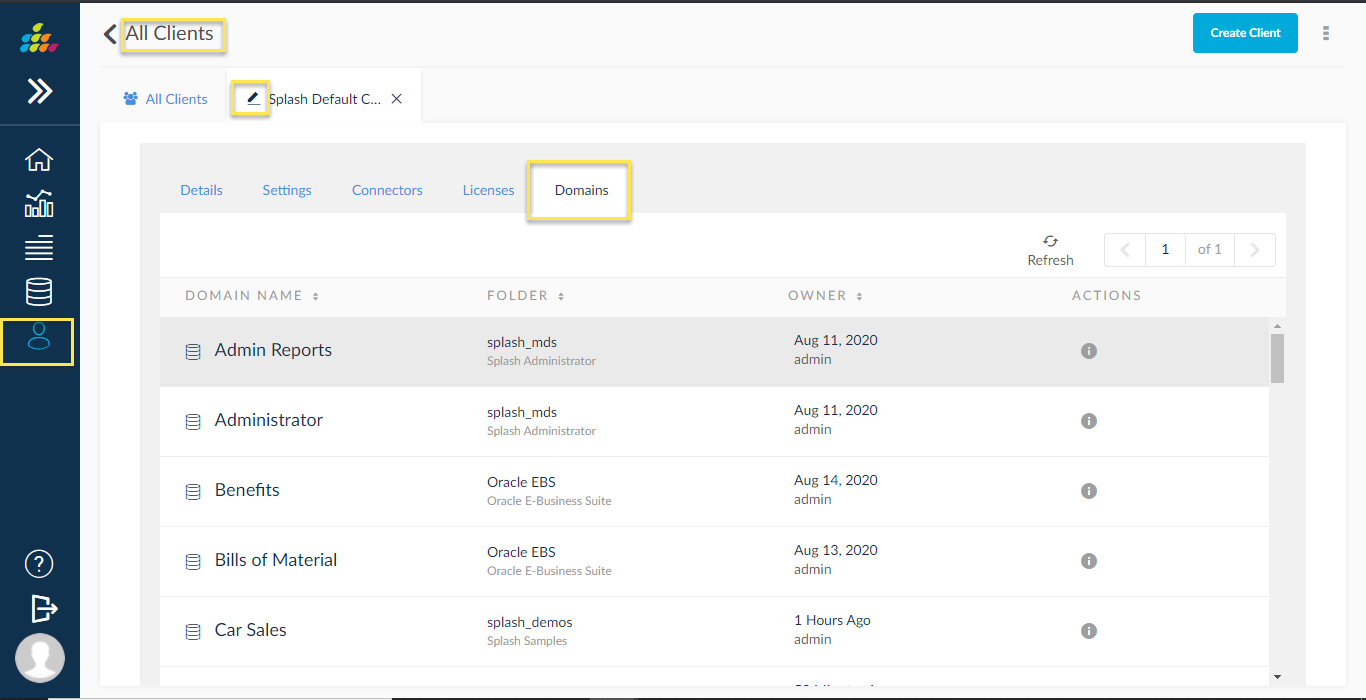
In Edit client: In Edit client page newly added license and domains sub tabs to view client own license and domains information
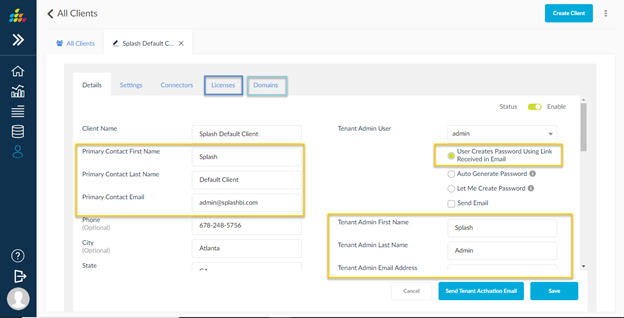
License: In License tab user can see client specific decrypted license .
Domains: In Domains tab user can see client specific available domains information
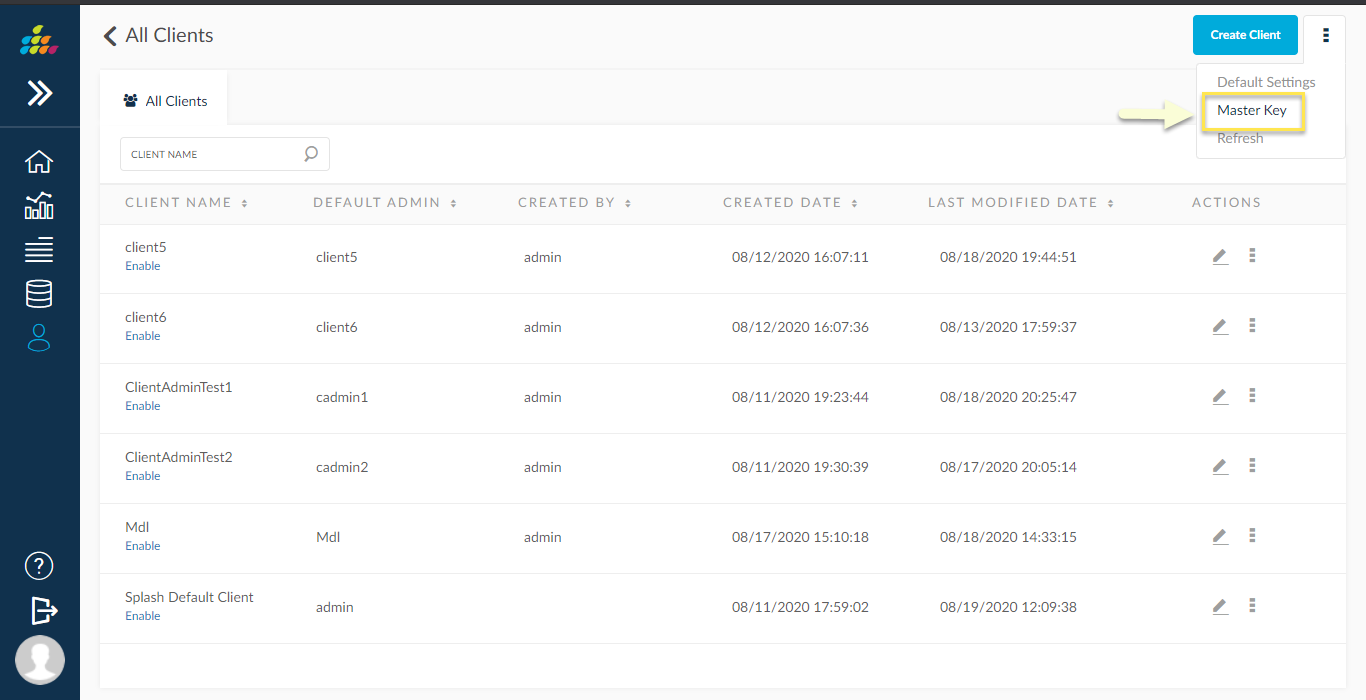
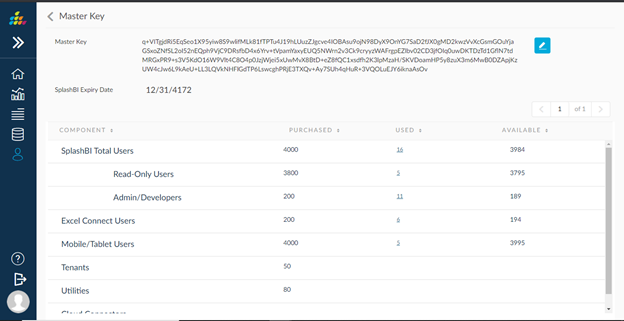
Master key: In Master key contains all tenants, users, and connectors information, based on master key we can create tenants, user and connectors
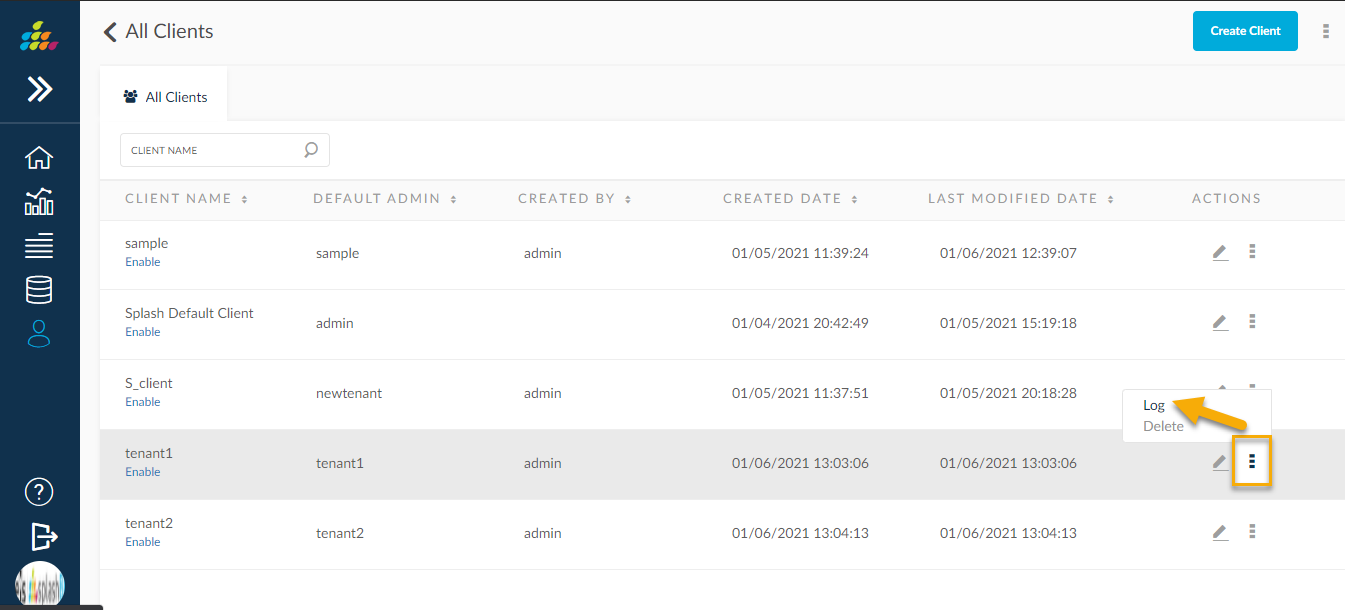
Log
We have an option to download the log file of specific tenant.
We can download log file by clicking on log icon under actions. it helps developers to track issues.
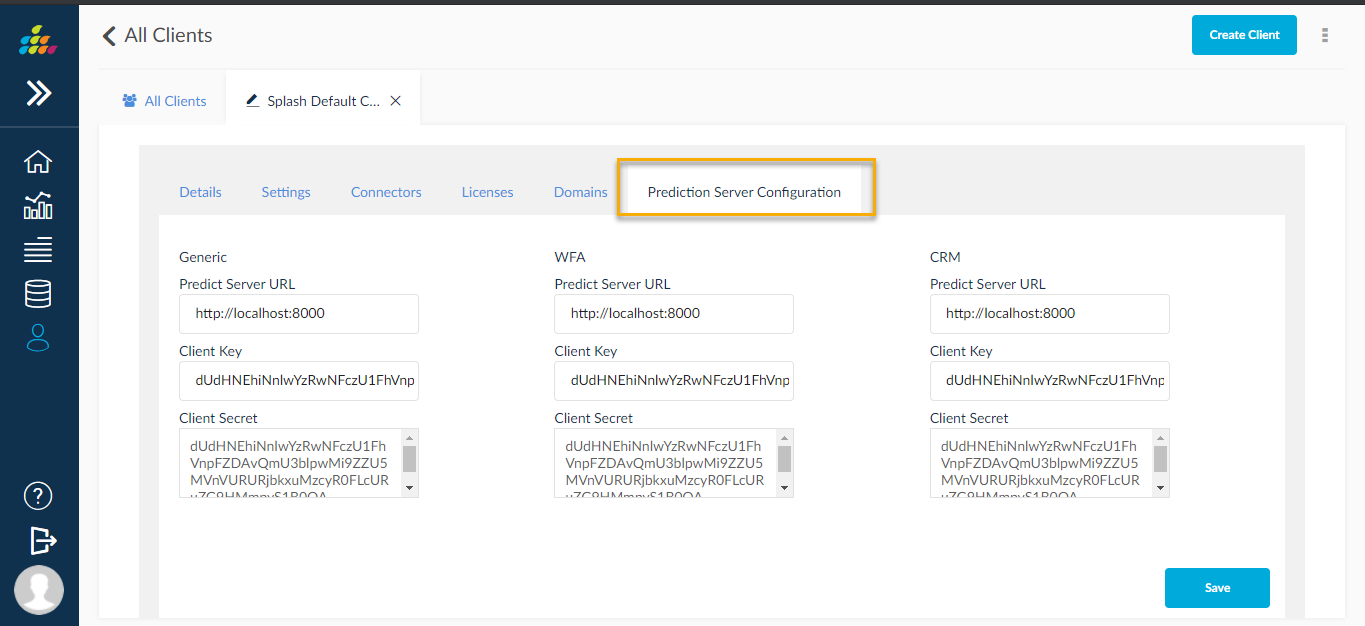
Prediction Server Configuration
We can configure predict server details in tenant level.
In client list page , edit any client , click on “Prediction server configuration” tab , here we can enter client specific predict server URL, client key and client secret, based this details application will access prediction server.
