Settings
Default Settings for all the clients can be accessed from this section. Click the highlighted Settings icon to access the Settings page.
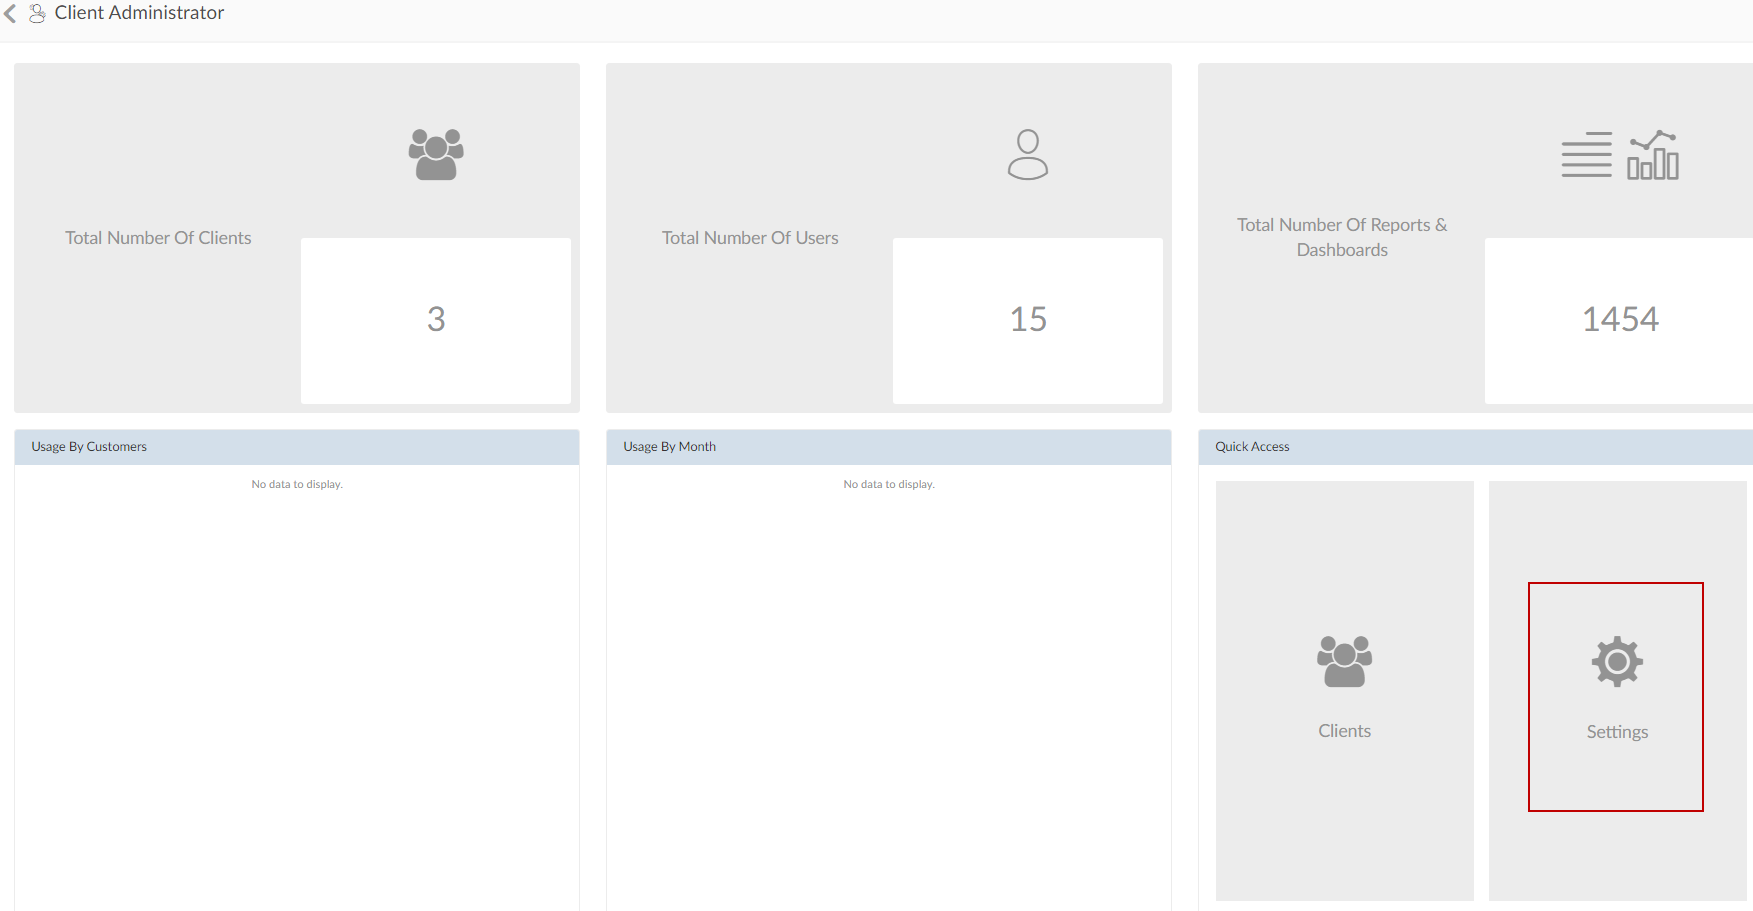
The user will be redirected to the Default Settings page with the following options.
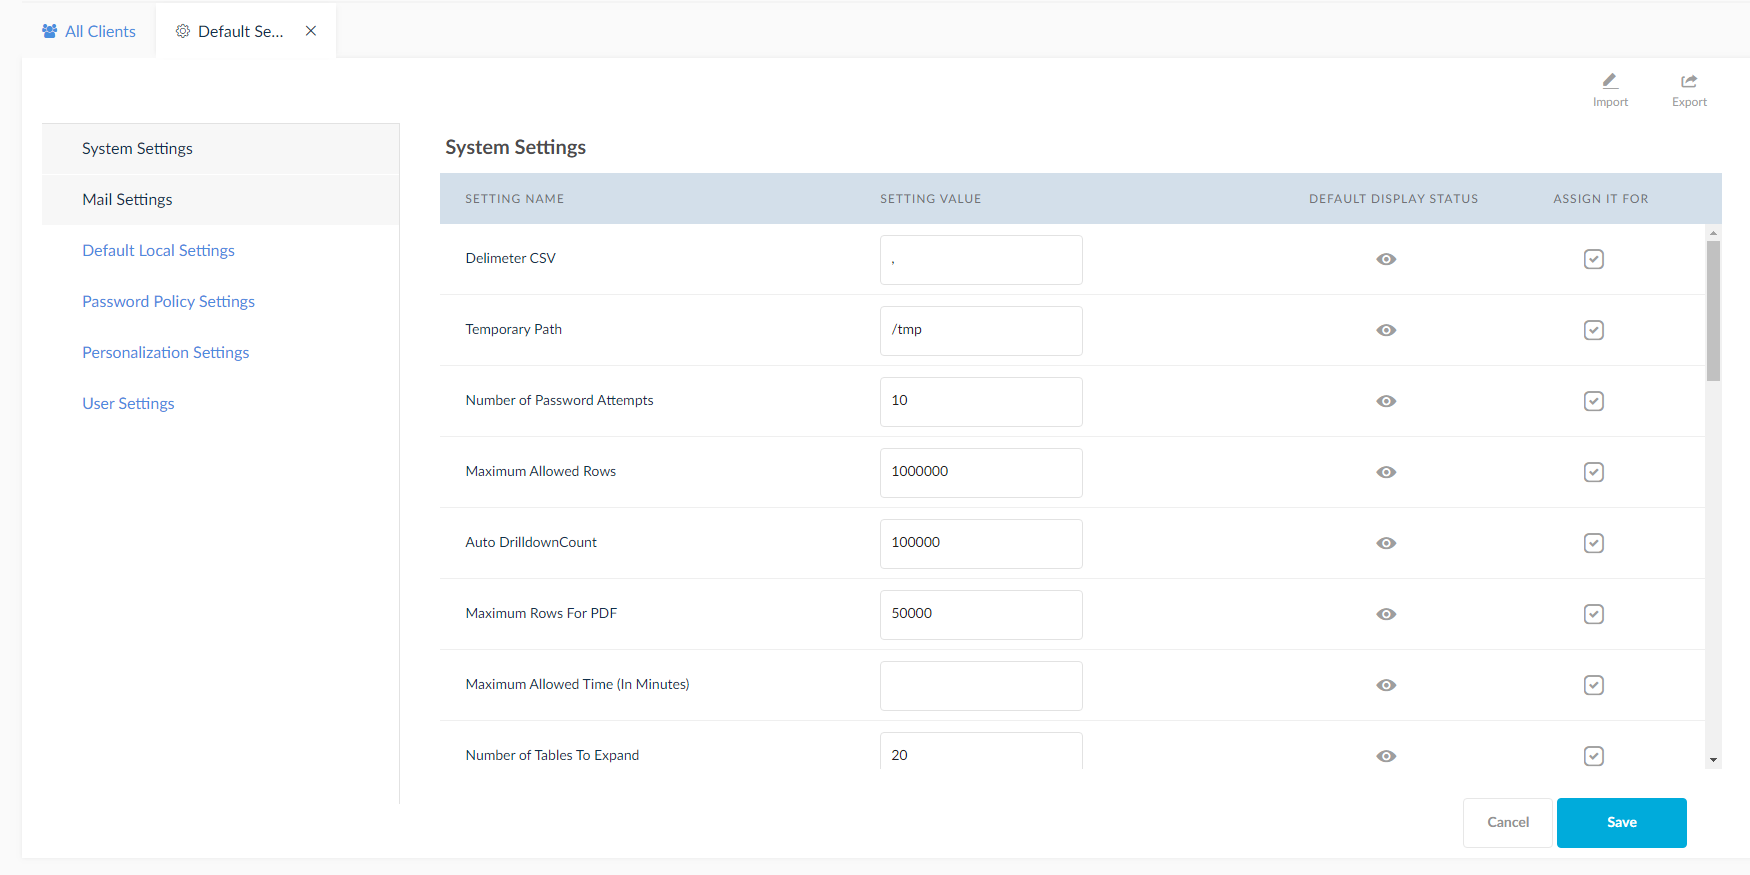
- Import Settings: Default settings can be imported using this option.
- Export Settings: Existing default settings with respective clients will be exported.
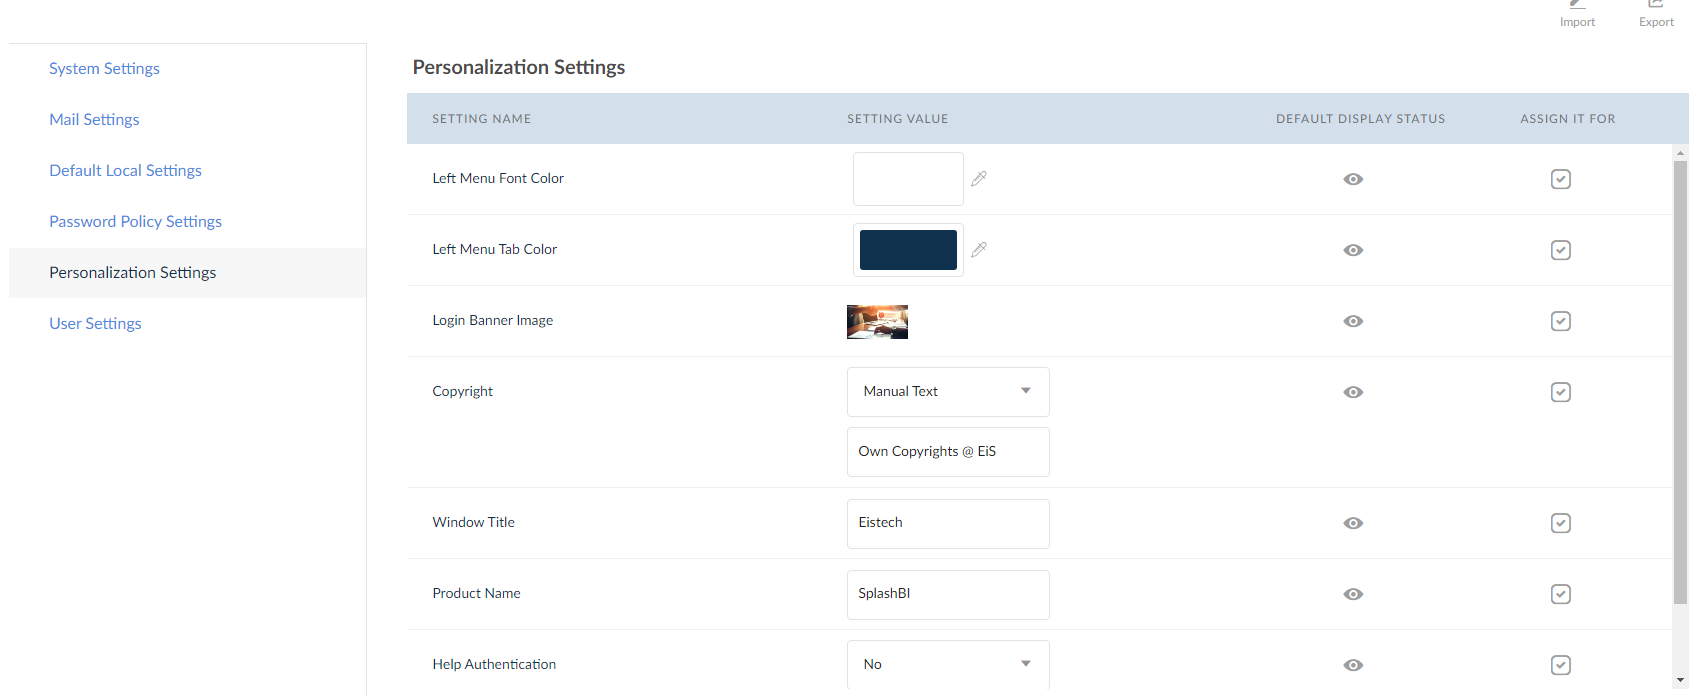
- Setting Value: Enter new value or change existing value for the settings applied to the clients.
- Default Display Status: If unselected for any setting, the settings page of the Admin module at client level is not displayed. This will apply only for newly created clients.
- Assign it For: In order to apply the new default setting value for existing clients, use this option. It will display the below pop up.
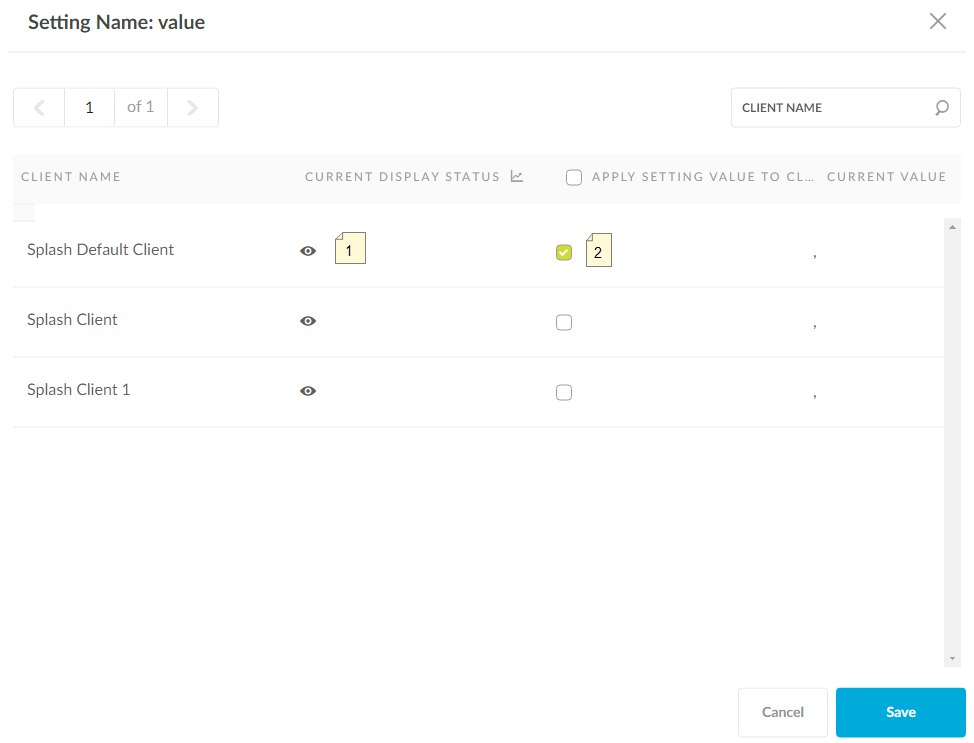
Assign it For pop up
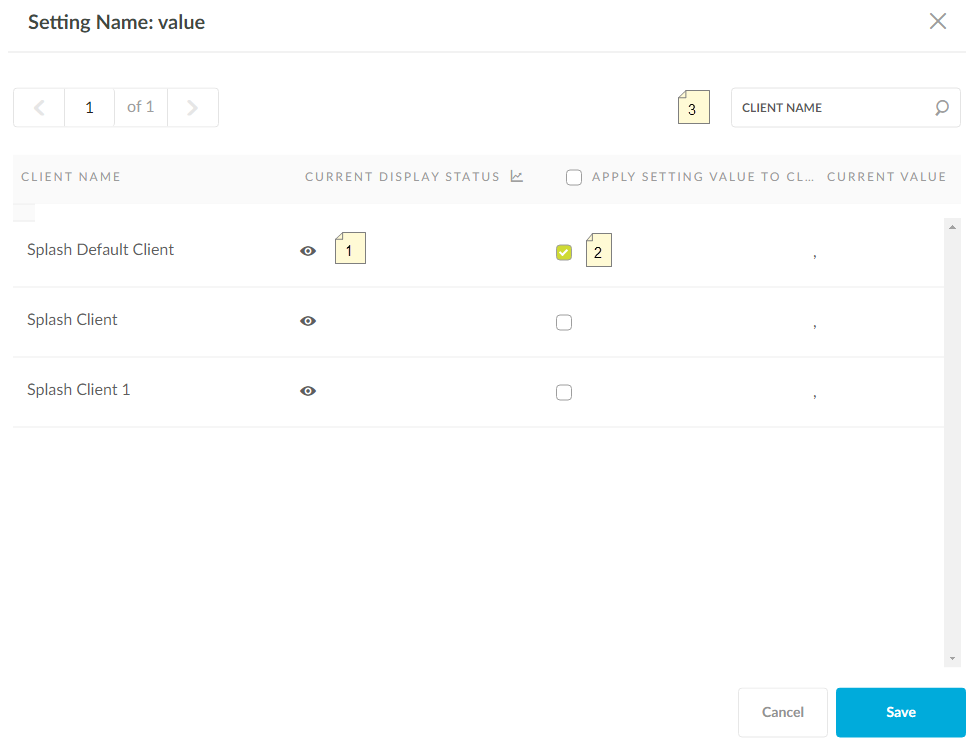
- Current Display Status: Changing the value to OFF for specific client to hide the visibility in the settings screen of Admin module.
- Apply Setting Value to Client: Check Apply Setting value to client for the specific client apply the setting and click on Save button to apply the settings.
- Search: Search the client by entering the name in the text box.
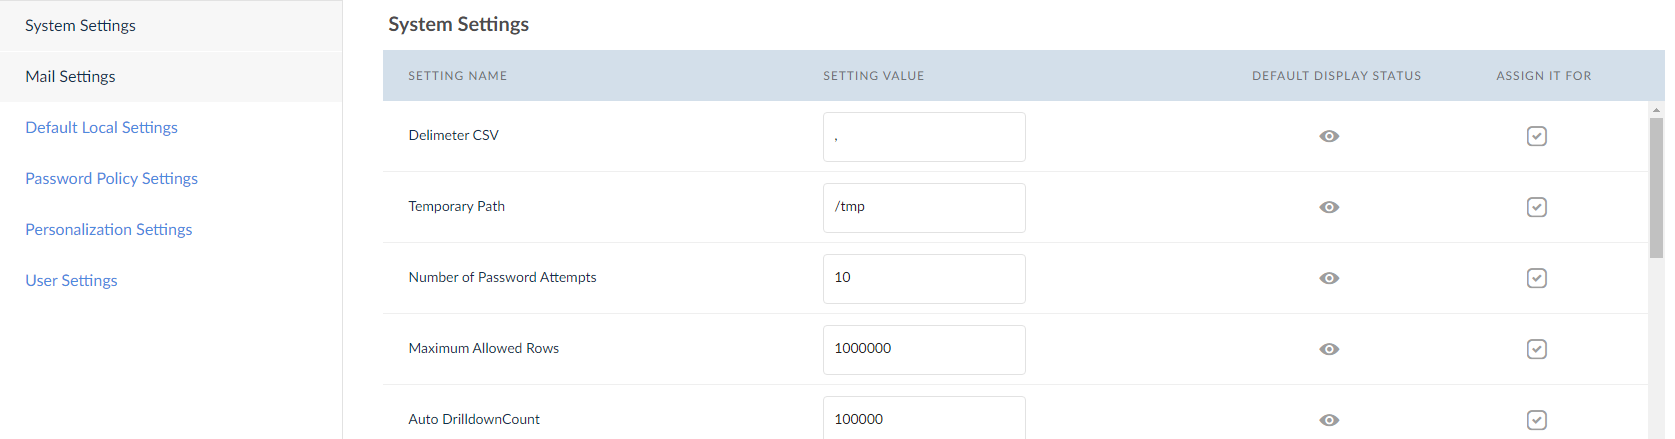
System Settings
This tab contains settings like Delimiter CSV, Temporary Path, Number of Password Attempts etc.
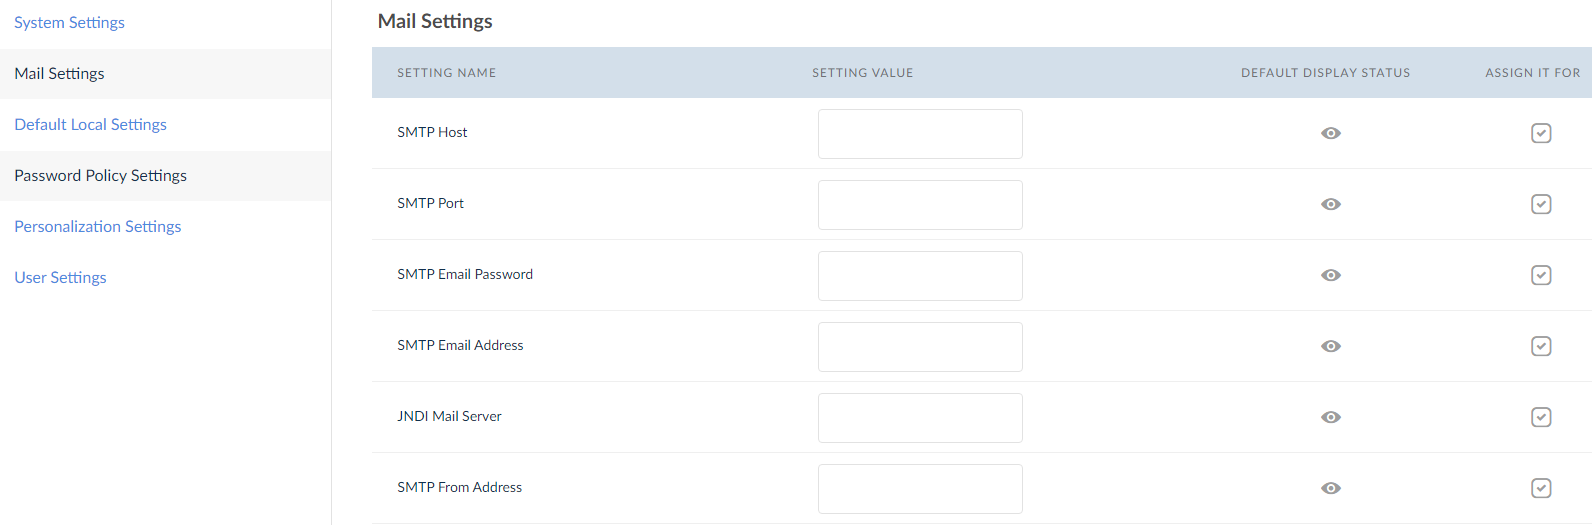
Mail Settings
The user can view and enter mail settings like SMTP Host, SMTP Port, SMTP Email Password, SMTP Email Address, JNDI Mail Server, SMTP From Address.
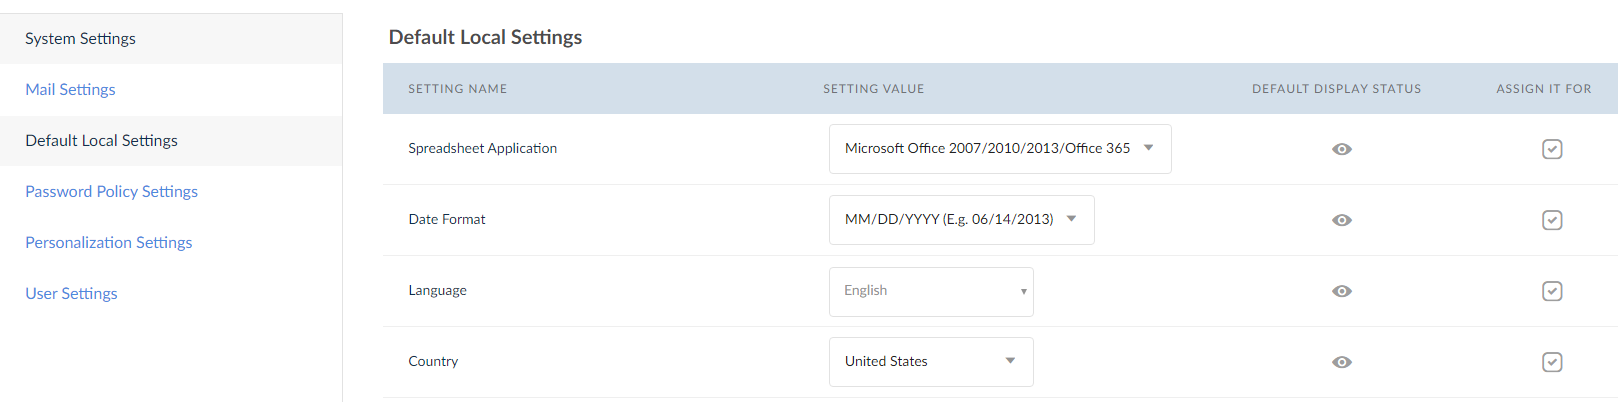
Default Local Settings
The user can view and edit default local settings like Spreadsheet Application, Date Format, Language, Country.
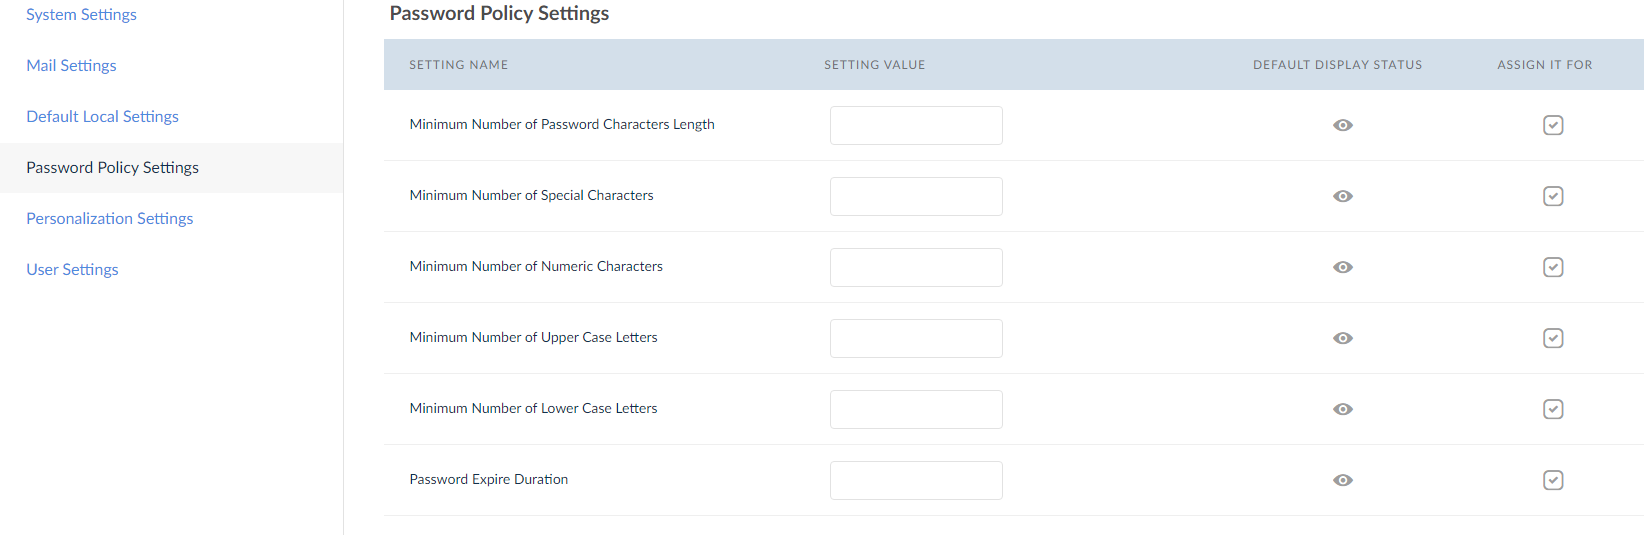
Password Policy Settings
The user can view and edit basic password related settings like password length, password criteria etc.
Personalization Settings
The user has multiple options to personalize SplashBI according to the organizational standards. That includes font, color, logo etc.
User Settings
The user can set roles and privileges to the application users.
