Format Masks
Format masking is a feature available to mask column data from being displayed in the executed report or chart outputs.
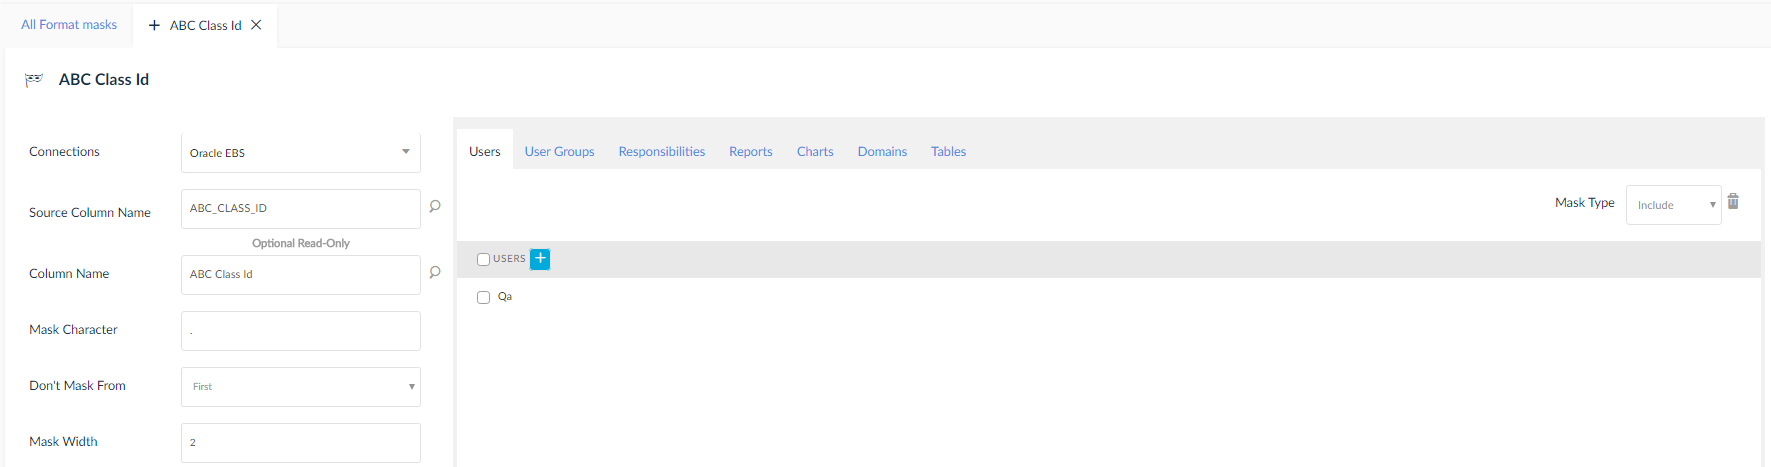
Creating a Format Mask
To create a format mask:
- Click the
 icon to display a tab.
 - Enter the Connection name from which the column data needs to be masked.
- Mask Character: Enter the character to mask the data.
- Don't Mask: Enter the position of the character in the output value that you do not wish to mask.
- Mask Width: Enter the width of the column value would not to mask based on the position selected in the above field.
- Click Save.
- Click Save to view additional tabs as displayed below. These additional fields are used to define the security on the field mask created. Select any tab, for example Users, User Groups etc.
- Click the
 icon.
icon. - Select the Mask Type as Include or Exclude based on whether you would like to display the masked value or the actual value for the options chosen in step 7
- Click Save.
NOTE:
- If a column under the Users tab is assigned to certain users and the Mask Type is set to Include, then only those users added can see the masked data in the output.
- If Exclude is selected for the mask type, then, expect for the selected users everyone else can view the masked data in the output. The selected user can view the actual data in the output without masking.
Editing Format Masks
To edit format masks:
- Click the
 icon.
icon. - Make necessary changes to the format mask definition
- Click Save.
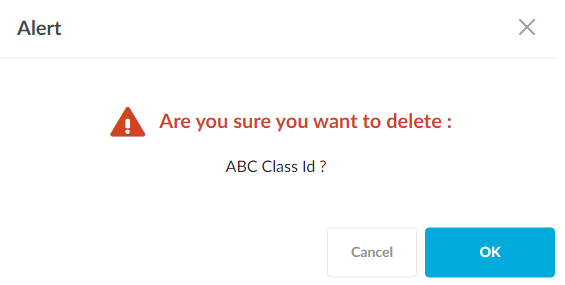
Deleting Format Masks
To delete format masks:
- Click the
 icon.
icon. - In the Warning pop up box, click OK.
Quick Access Buttons
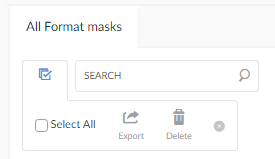
- Mass Edit: Allows to manage multiple format mask definitions in one screen
- Export: Allows exporting the format mask definition to migrate across multiple SplashBI instances.
- Delete: Allows deleting the Format Mask definition.