SAML
Splash Business Intelligence (SplashBI) supports Single Sign-On (SSO), a process that allows users to authenticate themselves against an external Identity Provider (IdP) rather than obtaining and using a separate user name and password handled by SplashBI. Under the SSO setup, SplashBI can work as a Service Provider (SP) through SAML (Secure Assertion Markup Language) allowing the user to provide Single Sign-On (SSO) services for your domain.
System/Software Requirements
Following is the list of the software that is required for using SplashBI’s SAML support for SSO(Single Sign-On):
- Identity Provider that supports SAML 2. 0 for SSO authentication
- Identity Provider that supports the import and export of XML metadata files.
- SplashBI 2.5 or later supports SAML based authentication.
- Username in SplashBI and Identity Provider should be the same.
- Optionally a X.509 certificate file from any Certificate Authority (CA) or self- signed (.cert or .crt), and a private key file with .key extension.
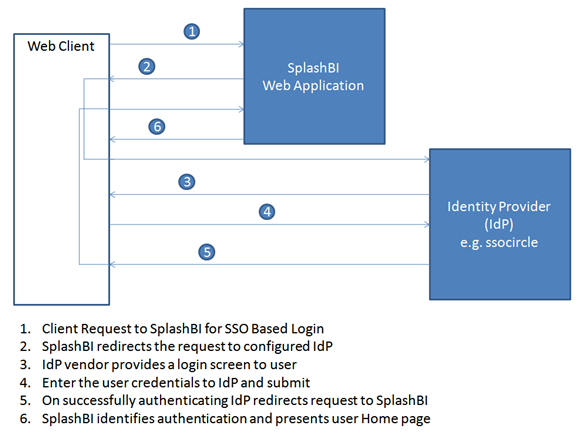
Splash BI SSO Authentication Architecture
Configuration
SpashBI needs be configured in order to use SAML for SSO. The following are the steps involved in configuring SAML in SplashBI:
- Upload the public certificate and private key.
- Add SplashBI as a Service Provider to IdP.
- Upload the IdP(Identity Provider) meta data to SplashBI.
Uploading Public Certificate and Private Key
This is an optional step, the user requires this step in SplashBI to use their own private key for encryption. SplashBI comes with one default private key which can be used for demo/production (we suggest using the user's own private key in production). The X509 certificate can be downloaded from the Certificate Authority provider or can use tools like Keytool and OpenSSL for creating a self-signed certificate.
- Login to SplashBI with admin user.
- Navigate to Administrator -> Setting.
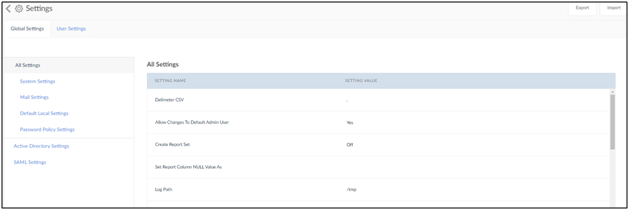
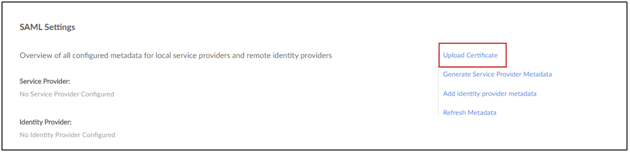
3. Click on SAML Settings.
4. Click on Upload Certificate button.
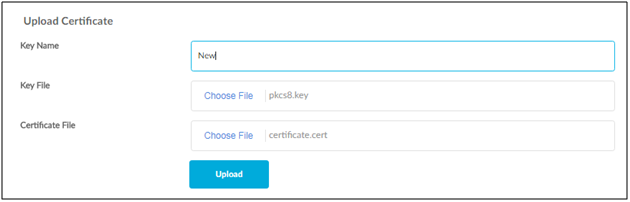
5. Enter the inputs; need to select the .key and .cert files; and click on Upload.
NOTE: The .key file consists of private key and .cert is a public certificate X.509.
6. Once the certificate is uploaded to server, the user needs to bounce the web server in which SplashBI application is deployed. The Key Name created in this step can be found in following steps while generating the Service Provider meta data.
Add a SplashBI as a Service Provider to IdP
- Login to SplashBI with admin user.
- Navigate to Administrator -> Setting.
3. Click on SAML Settings.
4. Click on Generate Service Provider Metadata.
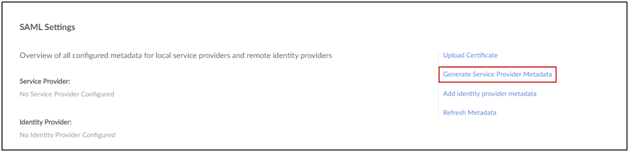
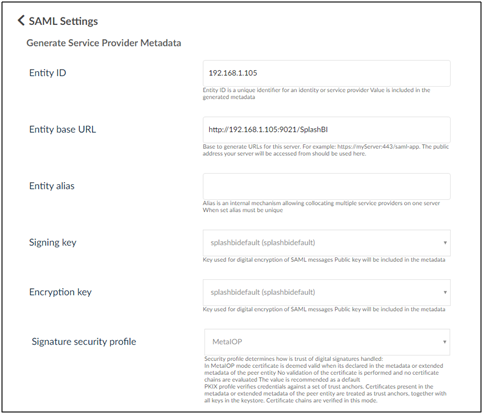
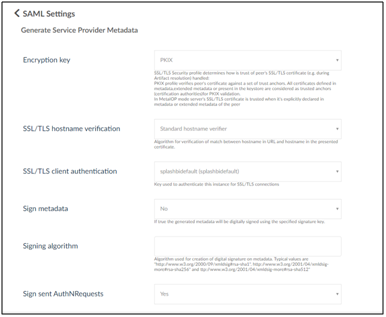
5. Enter the required details as described in the following screen. Enter SplashBI for Entity ID. The system automatically generates the Entity base URL.
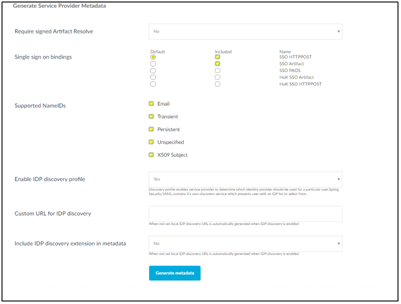
6. Once the meta-data is generated successfully, go back to find the meta data list.
7. From the meta-data list, click on the Service Provider Entity ID to get the meta data XML and copy/download the meta data XML.
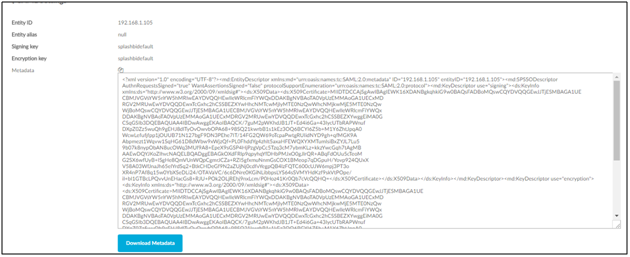
8. Meta data XML need to uploaded to IdP using the screens/approach defined by your IdP vendor.
Upload IdP(Identity Provider) meta data to SplashBI
Add the IdP meta data to SplashBI describing the system about the IdP that the user wishes to use for SAML based SSO.
The following steps are involved:
1. Get the meta-data XML from the IdP vendor.
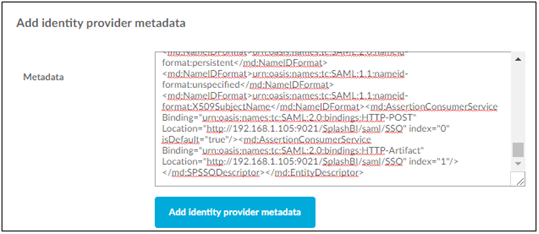
2. Go to SAML Settings as described earlier; and click on Add Identity Provider Meta data button.
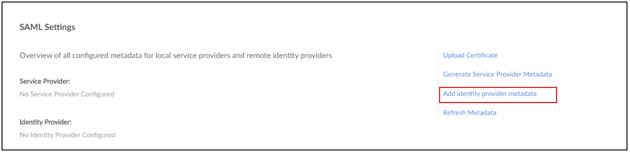
3. Copy the meta data XML provided by the IdP vendor and click Add Identity Provider.
4. Configuration is complete.
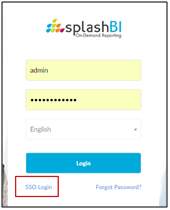
5. One of the two options can be used to Login with sso:
- sso URL: http://<domain>:<port>/SplashBI/ssoLogin
eg: http:prod.eistech.com:8080/SplashBI/ssoLogin.
- Use default SplashBI Login to find a link to ssoLogin.
6. Once the login details are validated by IdP, user will be redirected to SplashBI Home page.