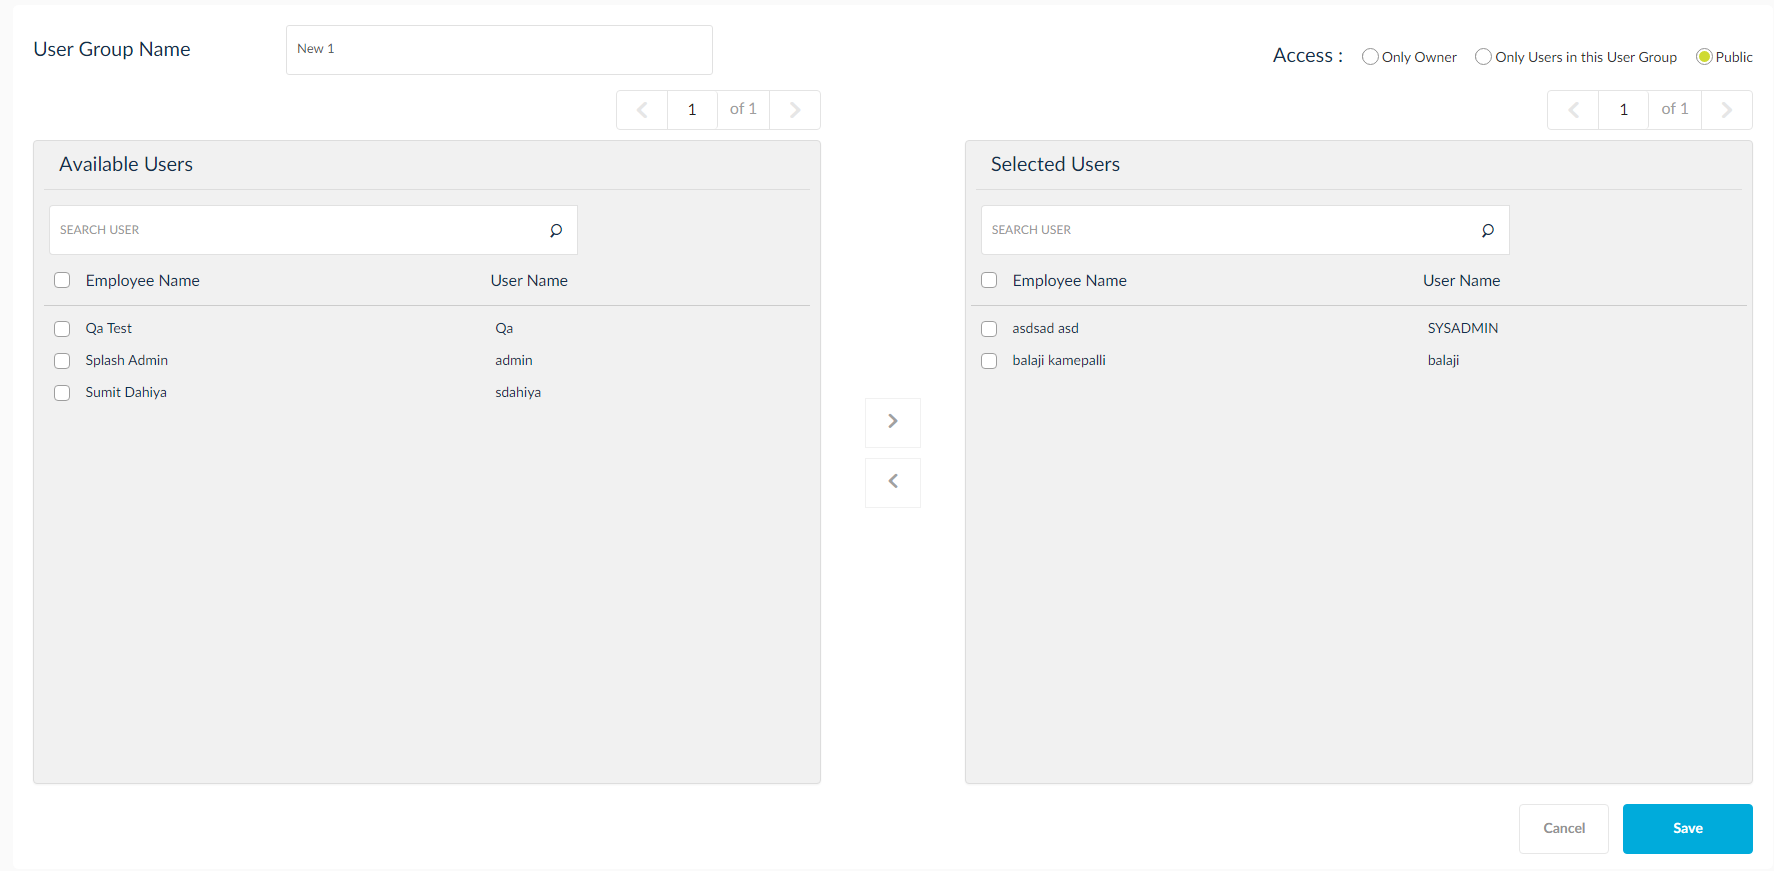
User Groups
User groups are used in SplashBI tool to define functional roles within the company. This functionality will make sharing and collaboration efforts within the same functional group easier for the users to manage reports, charts and dashboards.
The user groups are used during sharing reports, dashboards, charts, domains, and distributing reports outputs. It is also used during enabling system settings.
Creating a User Group
- Create the user groups by clicking the
 icon and the changes will reflect automatically after saving.
 - Provide the user group name. The user group name must be unique.
- Select all users or particular users in the organization from the available users list to the current user group.
- The left/right arrows will either add or remove users from the user group list.
- Click the appropriate access control among the three options available.
- Only Owner: If chosen, the user group will be available only to the user who created the group
- Only Users in this User Group: If this option is chosen, the user group will be available to the owner of the groups as well as the users selected into the group
- Public: If this option is chosen, the user group will be available to all users available in SplashBI application.
- To save a new user group, click Save. If the user group is created successfully a confirmation pop up is displayed.
User Group Activities
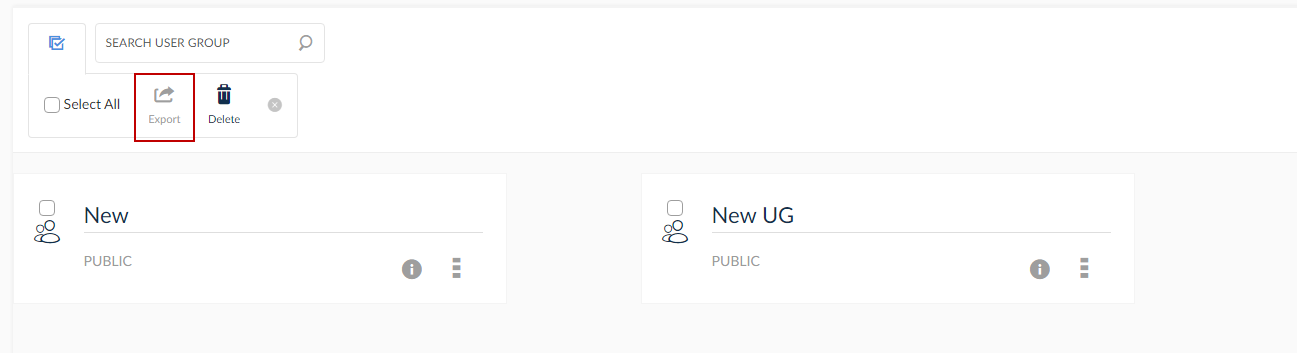
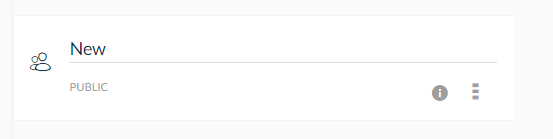
Click the three dotted icon to find Edit and Delete options. Export the user groups using the export option to migrate user group definition across SplashBI instances. For exporting, deletion and import of multiple user groups use the mass edit option in the list view.
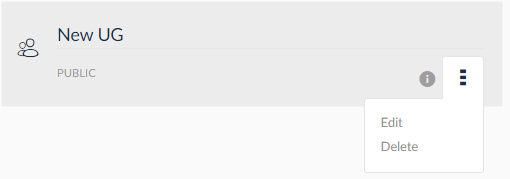
Clicking Delete, the migrate users window is displayed. Select the user from the Selected Users panel and click the ![]() icon to delete users.
icon to delete users.
Export User Group
- Click the Mass Edit icon.
- Select the User Groups.
- Click Export.
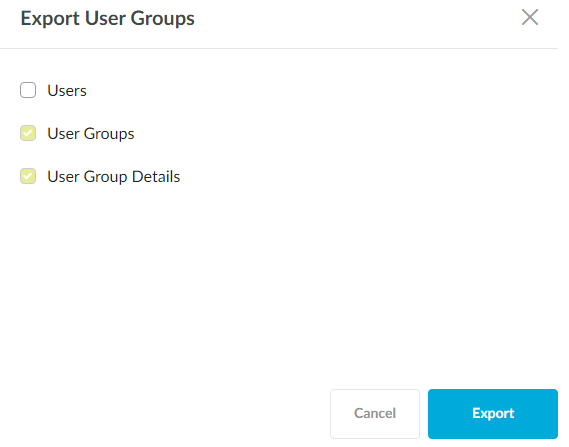
- Select the entities to be exported.
- Click Export.