Cloud Connectors
The SplashBI Cloud connection is created to connect to or invoke web services. Provide the web service URL and login credentials to connect to the web services. The lists of supported web services are:
- Taleo Enterprise Edition
- Oracle Cloud
- MailChimp
- Google Analytics
- Salesforce
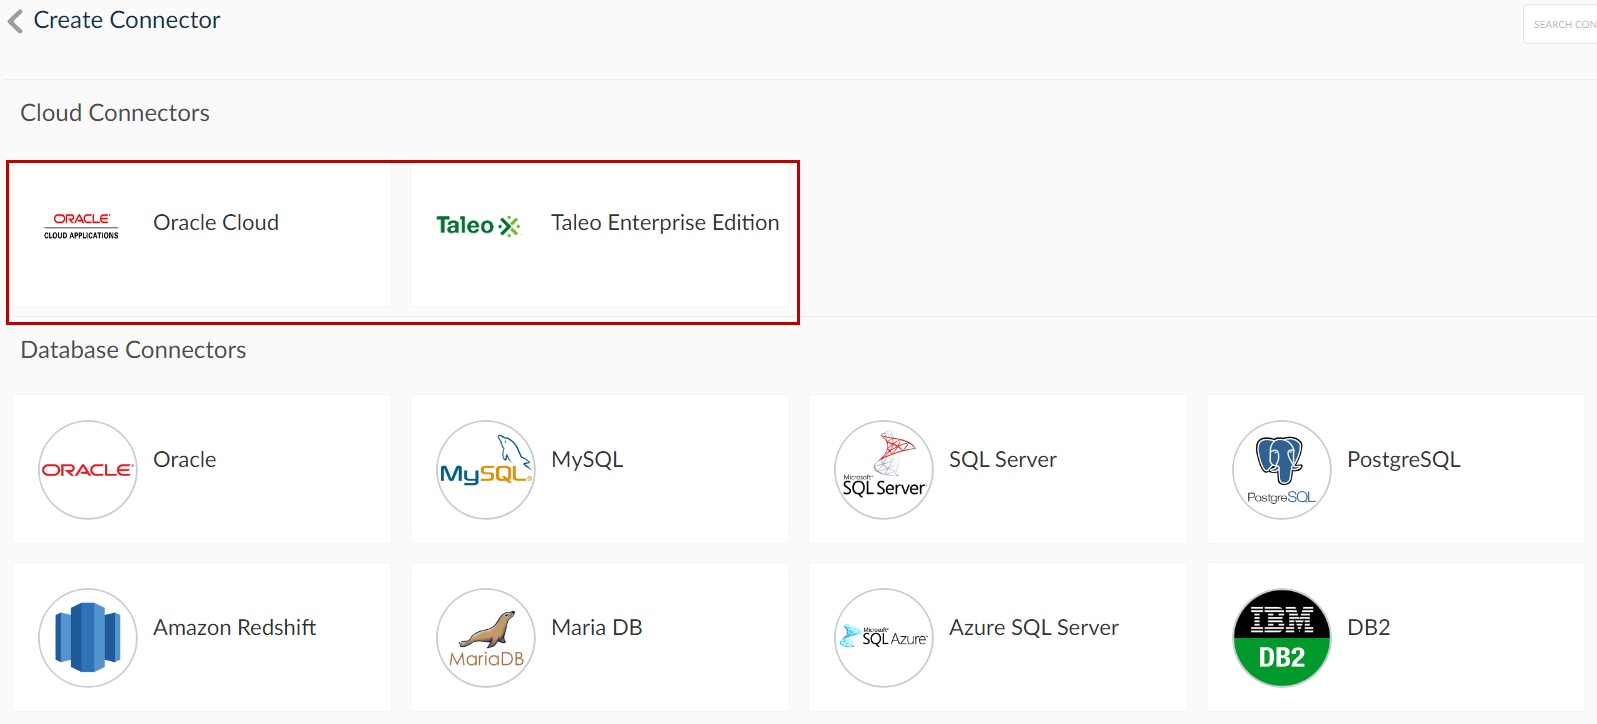
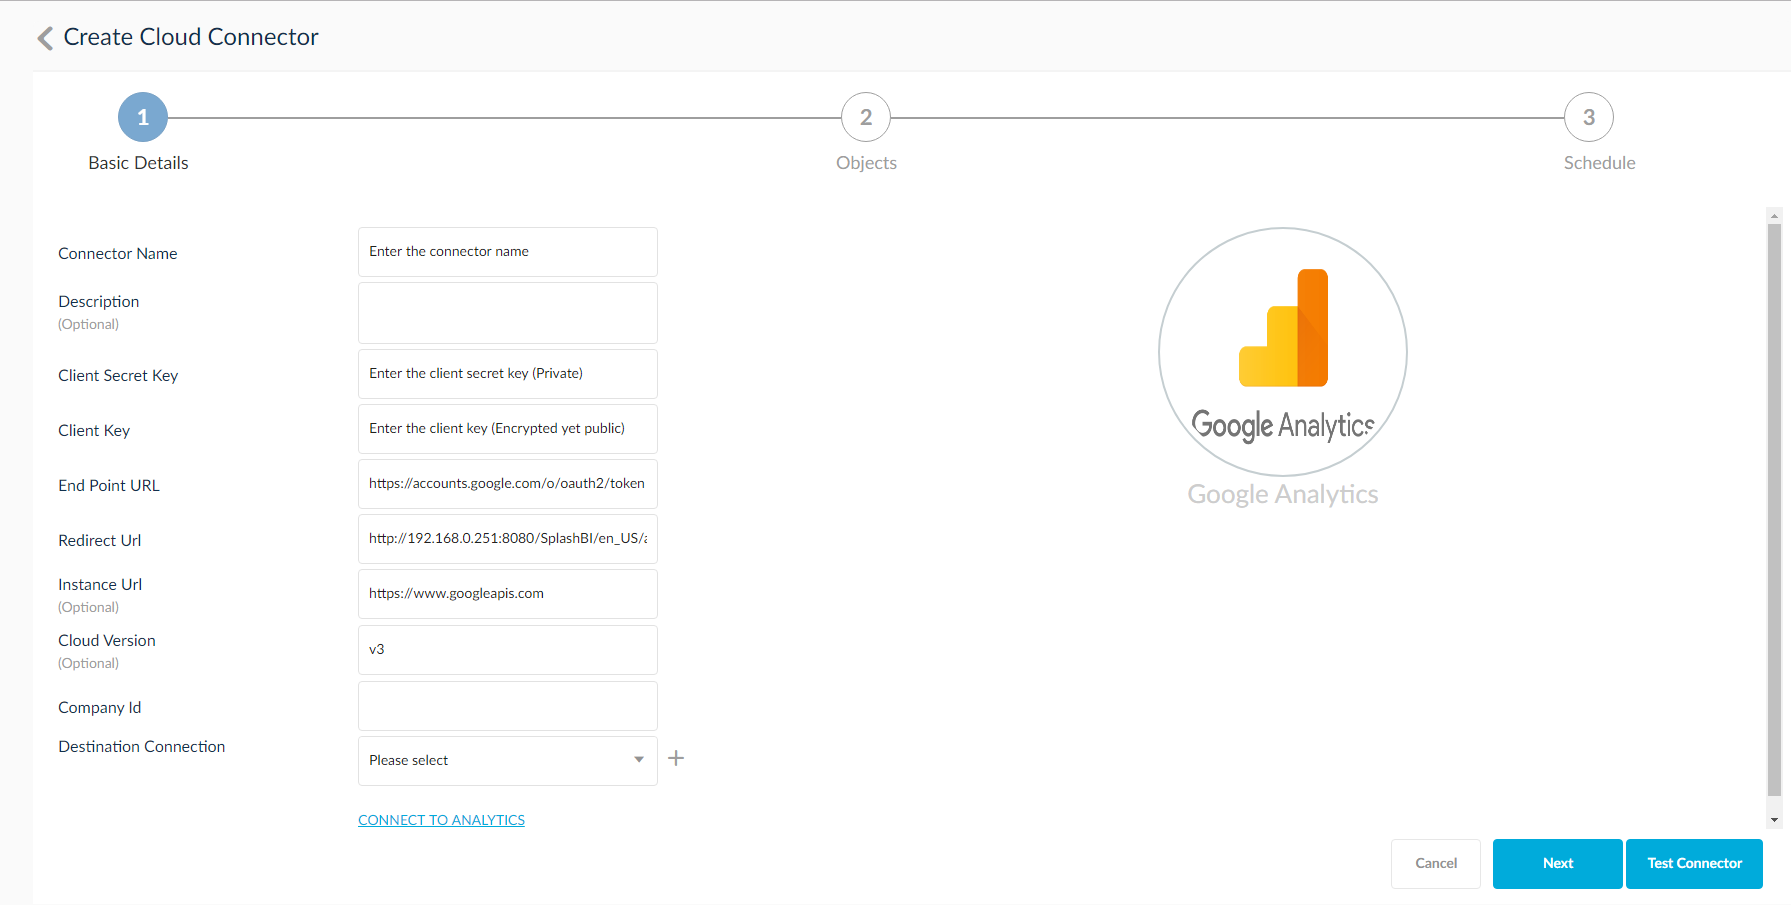
Choose the Cloud Connectors from the list and enter the details. Click Next.
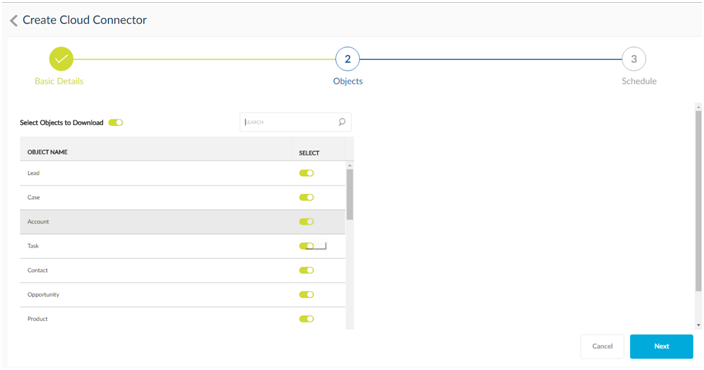
Select the objects to download. Objects are packets of data downloaded from Google AdWords into SplashBI and are used to create reports and dashboards. Click Next.
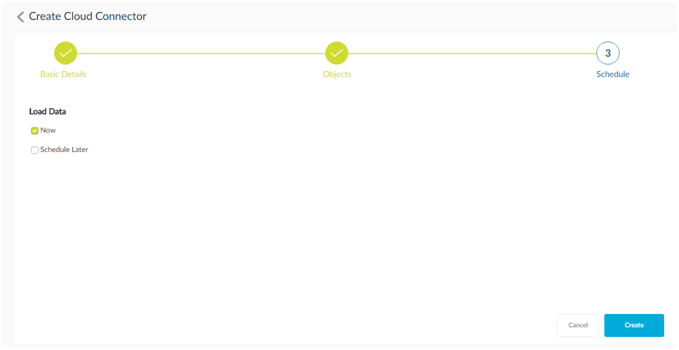
Schedule the load data process. Click Create.
Run Connections
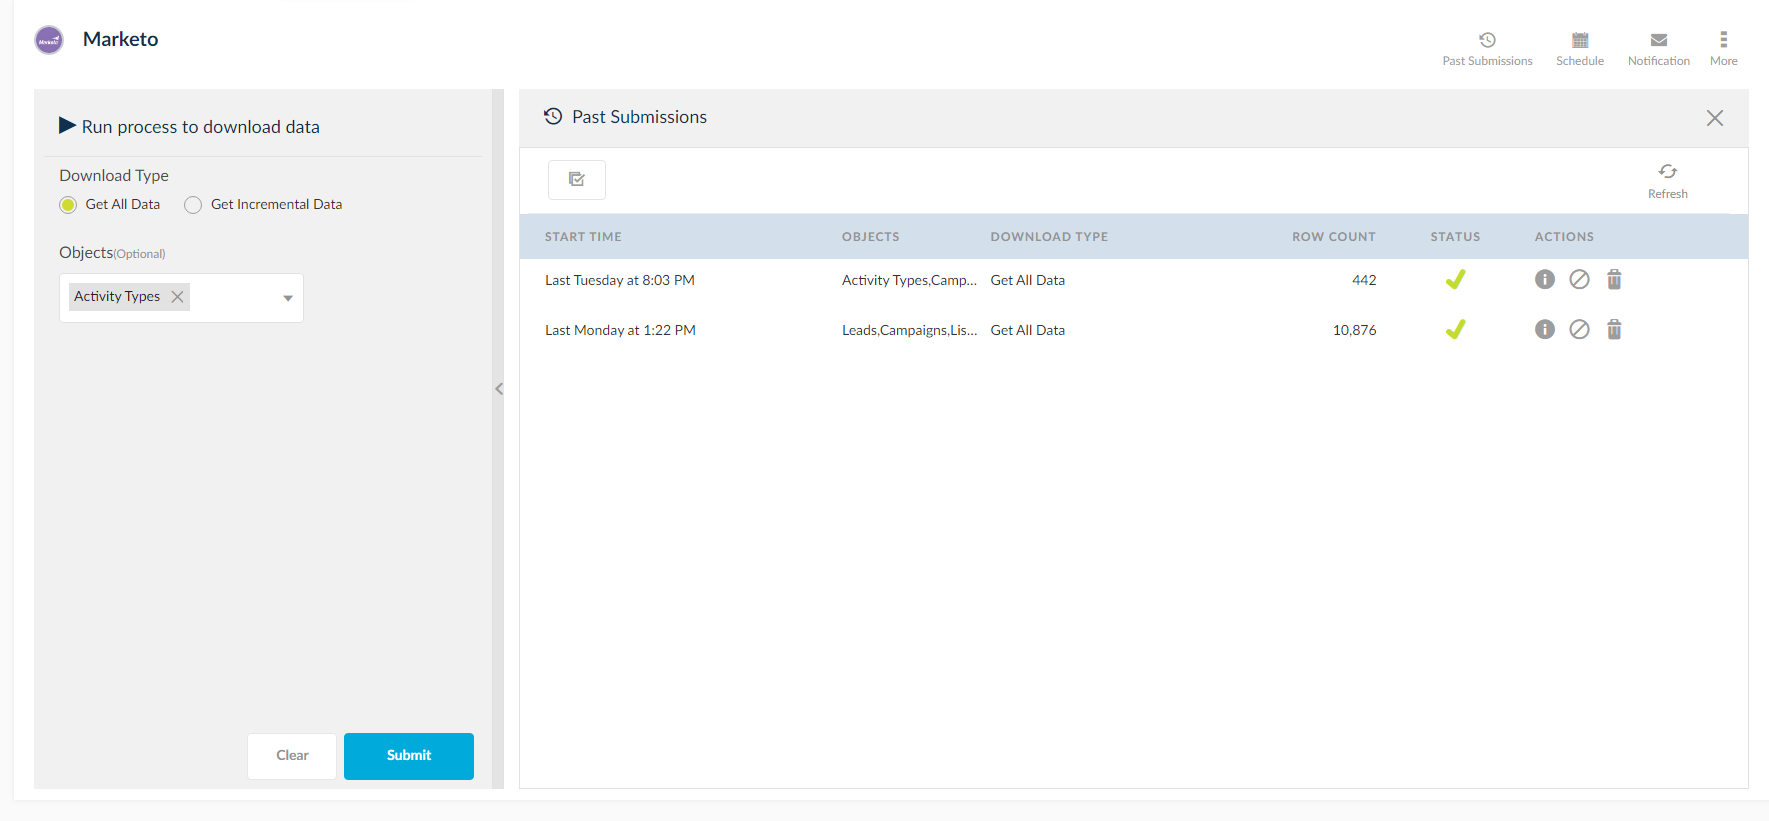
Click the Run icon to run the connection. The run option is the ![]() icon in the list view. After submitting the details displayed are Row Count, Status, Information, Stop Processing and Delete. Click the Refresh icon to refresh the past submissions list.
icon in the list view. After submitting the details displayed are Row Count, Status, Information, Stop Processing and Delete. Click the Refresh icon to refresh the past submissions list.
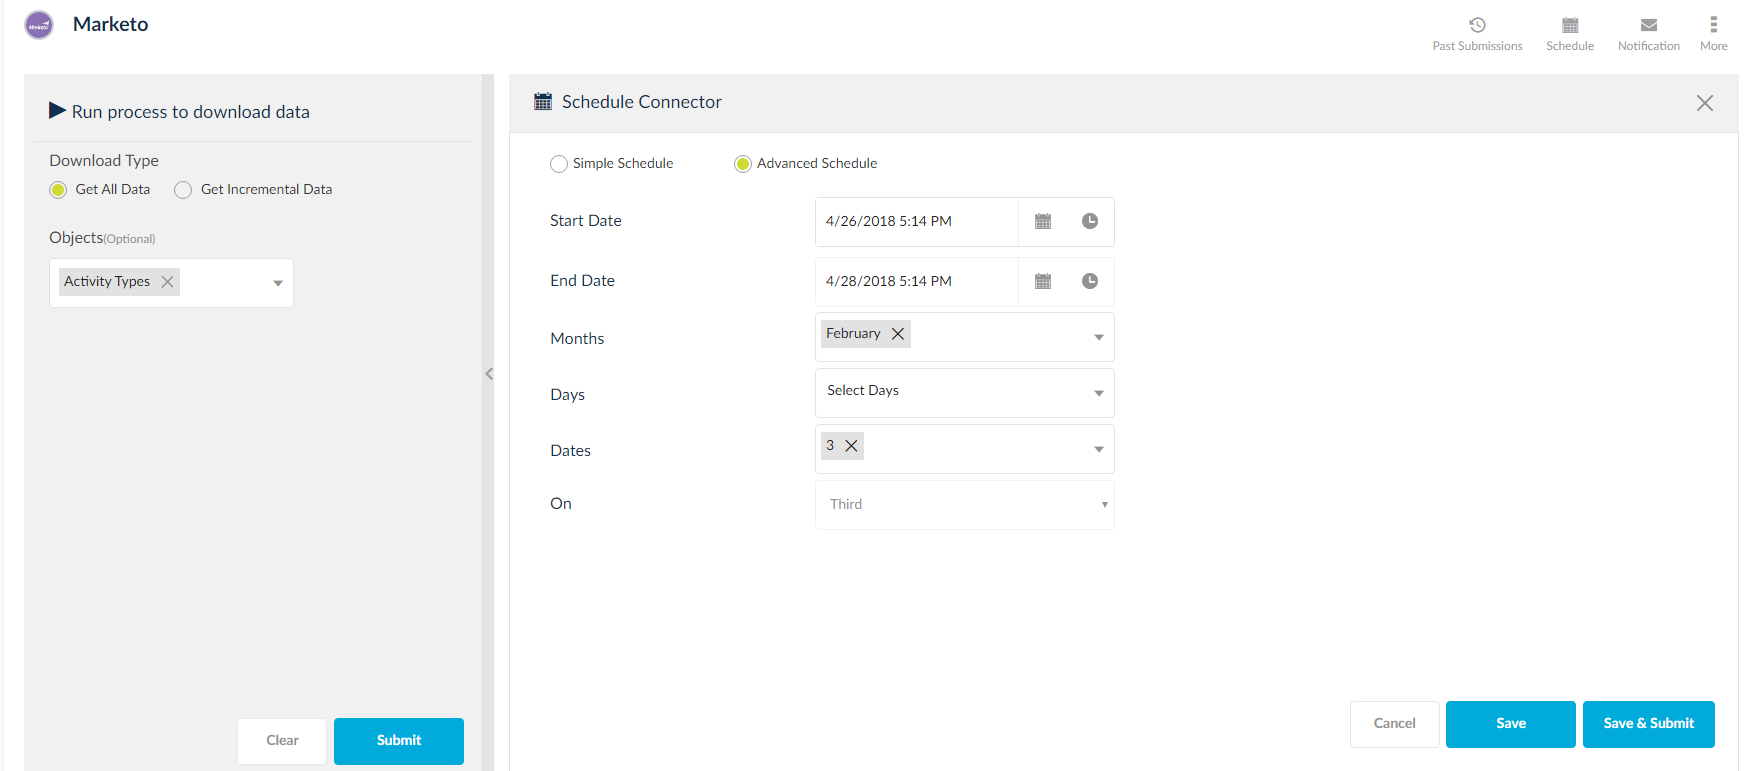
Schedule Connection
Schedule the running of the connection by clicking on the Schedule icon. Provide the Start Time and End Time, Repeat Frequency, Interval and Increment Dates.
Edit Connection
- Click the Edit icon to display the Edit tab.
- Here you can view the Connection Details, Download Details, Database Storage and Scheduled Jobs.

- Click the Objects
 icon to view the Objects of the database.
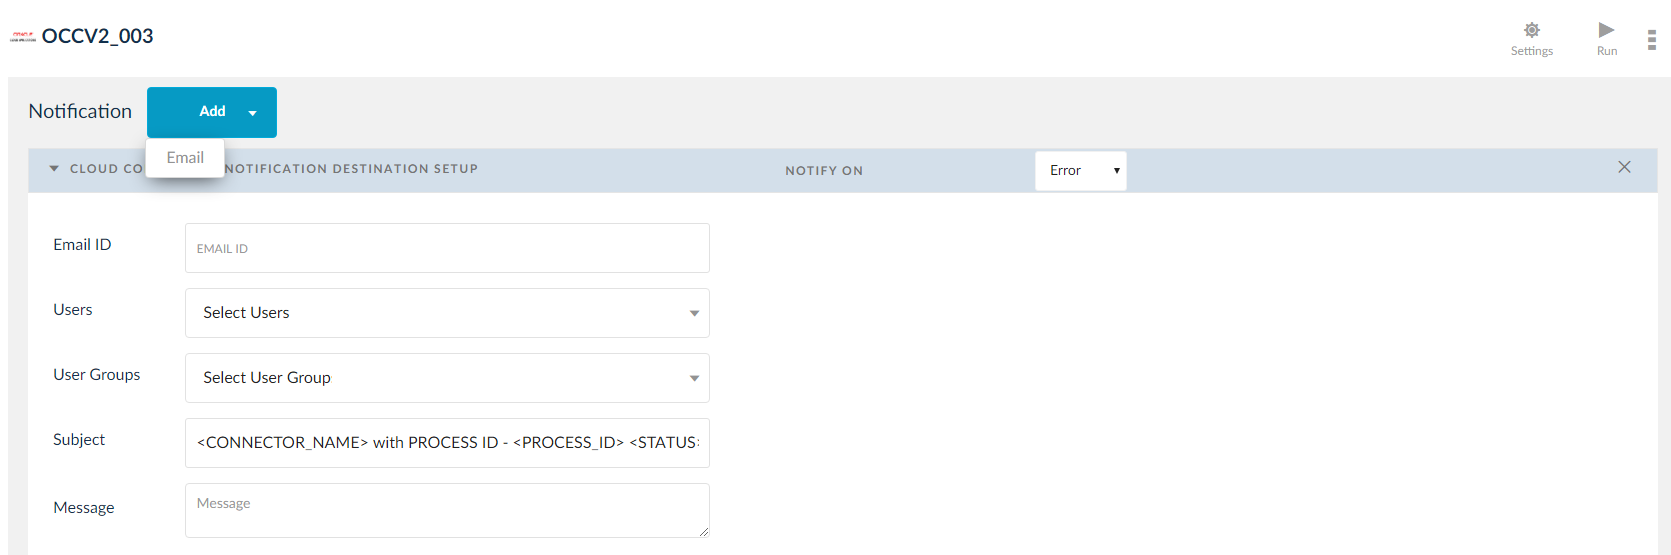
 - Click the Distribution
 icon to notify users about Errors and Success. You can also add an email id.
- Click the User Mapping
 icon to view, create, and import users.
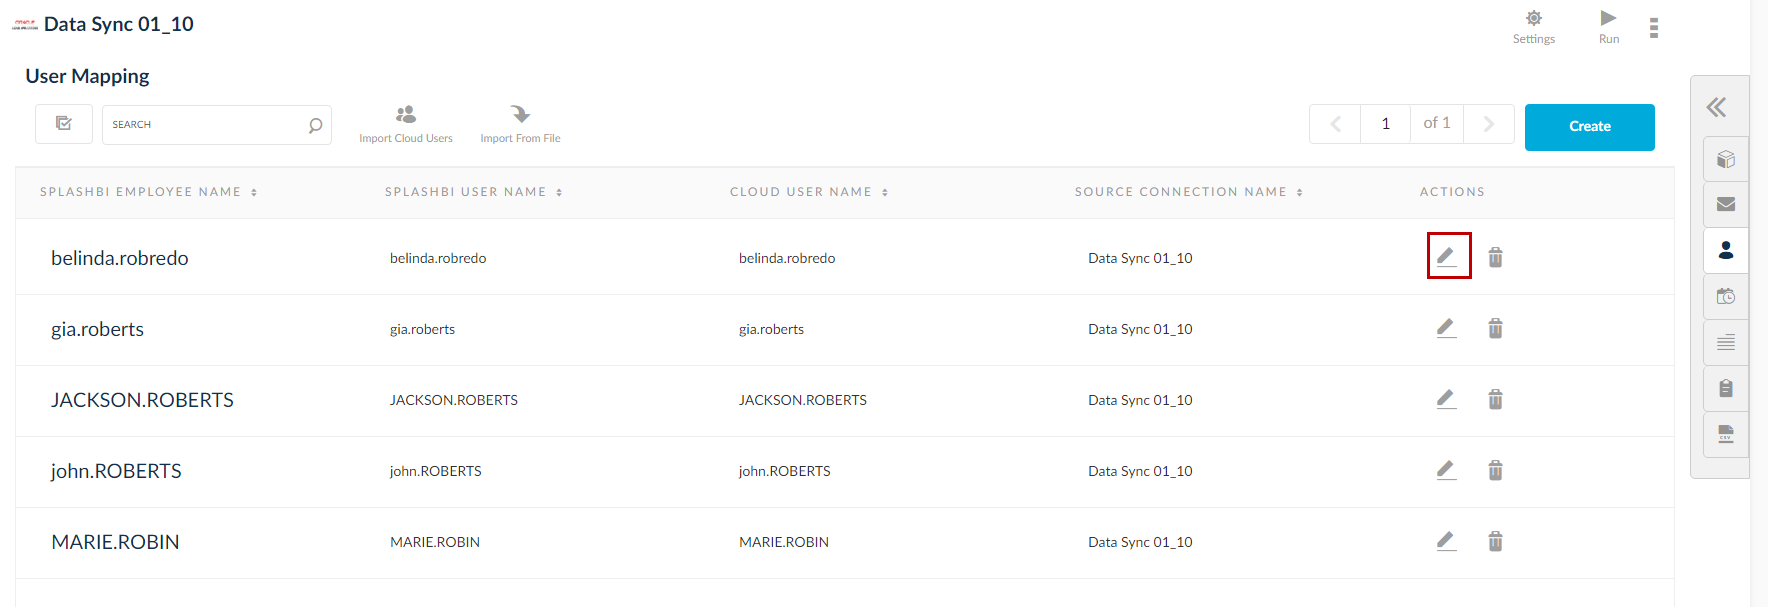
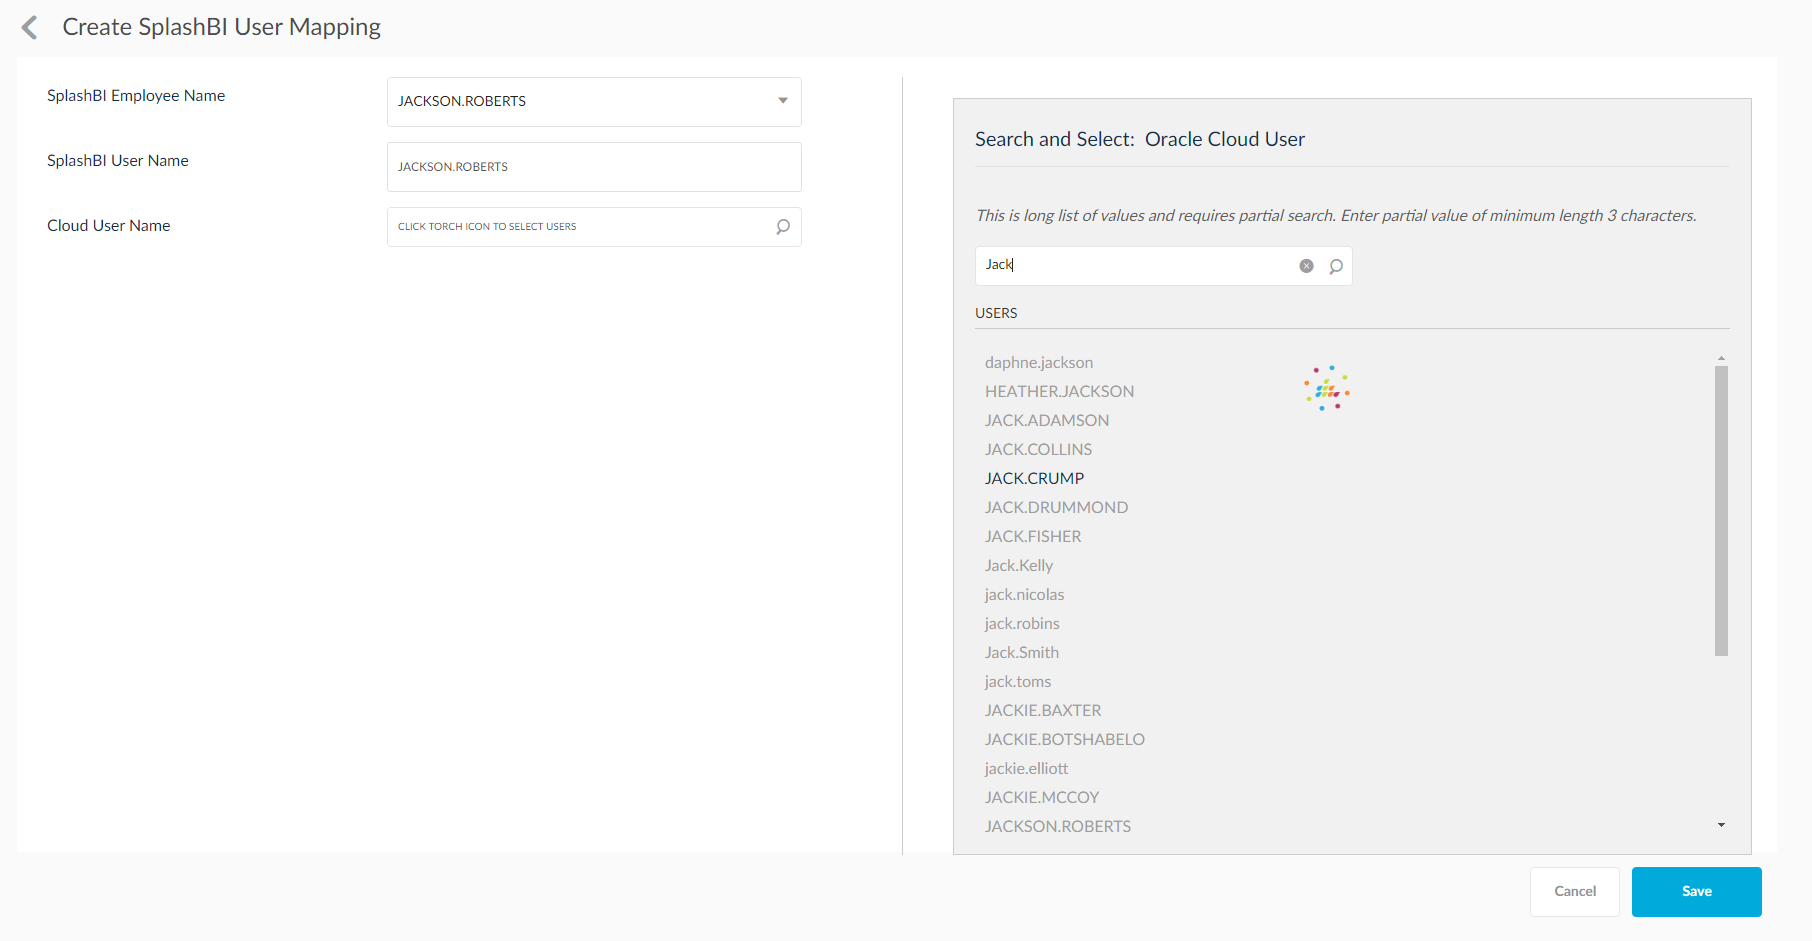
You can also create a user mapping by clicking Create/Import Cloud Users/Import From File.
Using Create Option: Use the drop down to select the SplashBI Employee Name based on the selection the SplashBI User Name is loaded. The Cloud User Name can be selected by clicking the search icon.
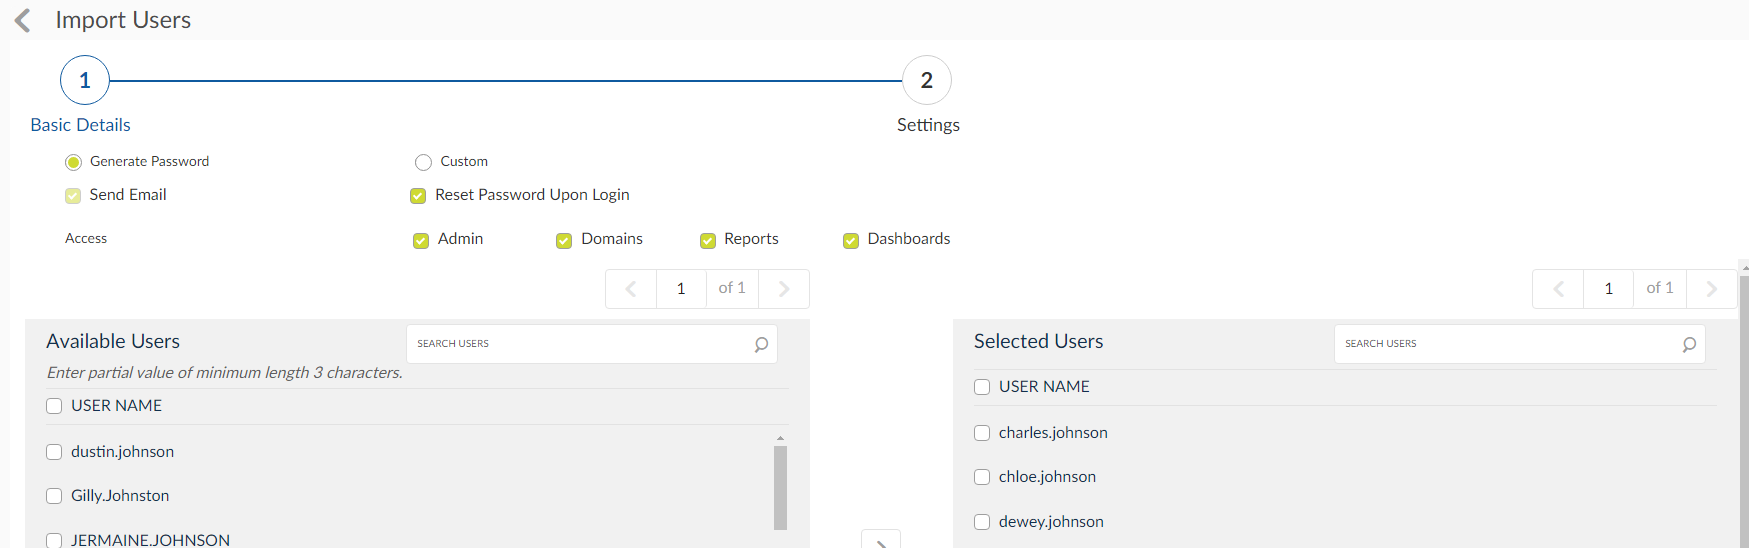
Import Cloud Users: Move the users from the Available Users to Selected Users. You can set the password or let SplashBI generate the password. You can also set the access.
Import From File: Click this option to upload users mappings from an outside source.

- Click the Scheduled Jobs
 to view the scheduled user mapping jobs.
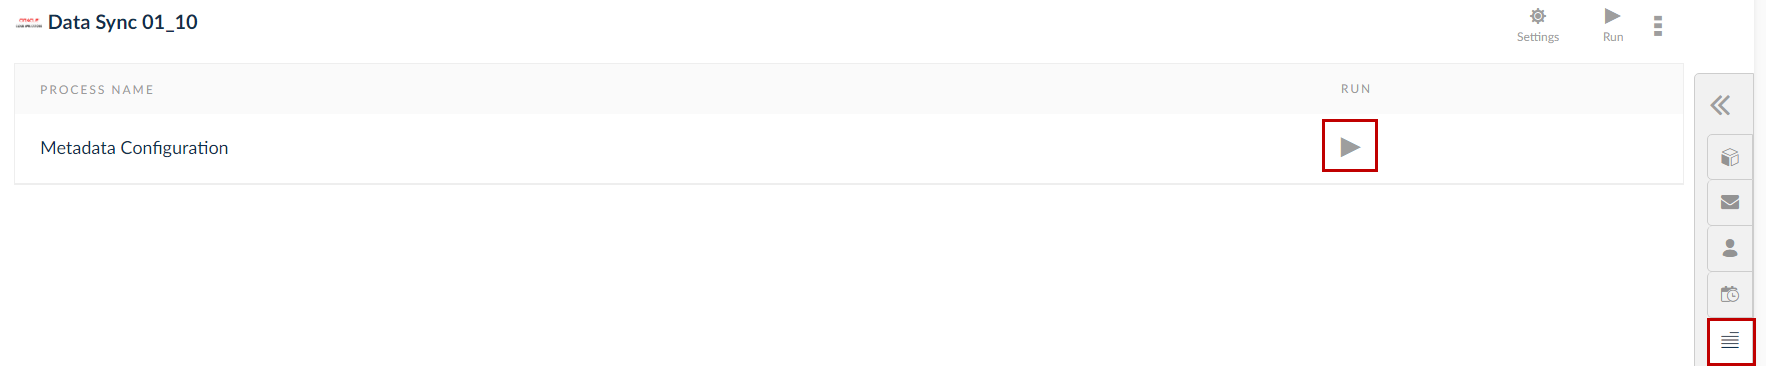
 - Click the Processes
 icon to view and run the processes.
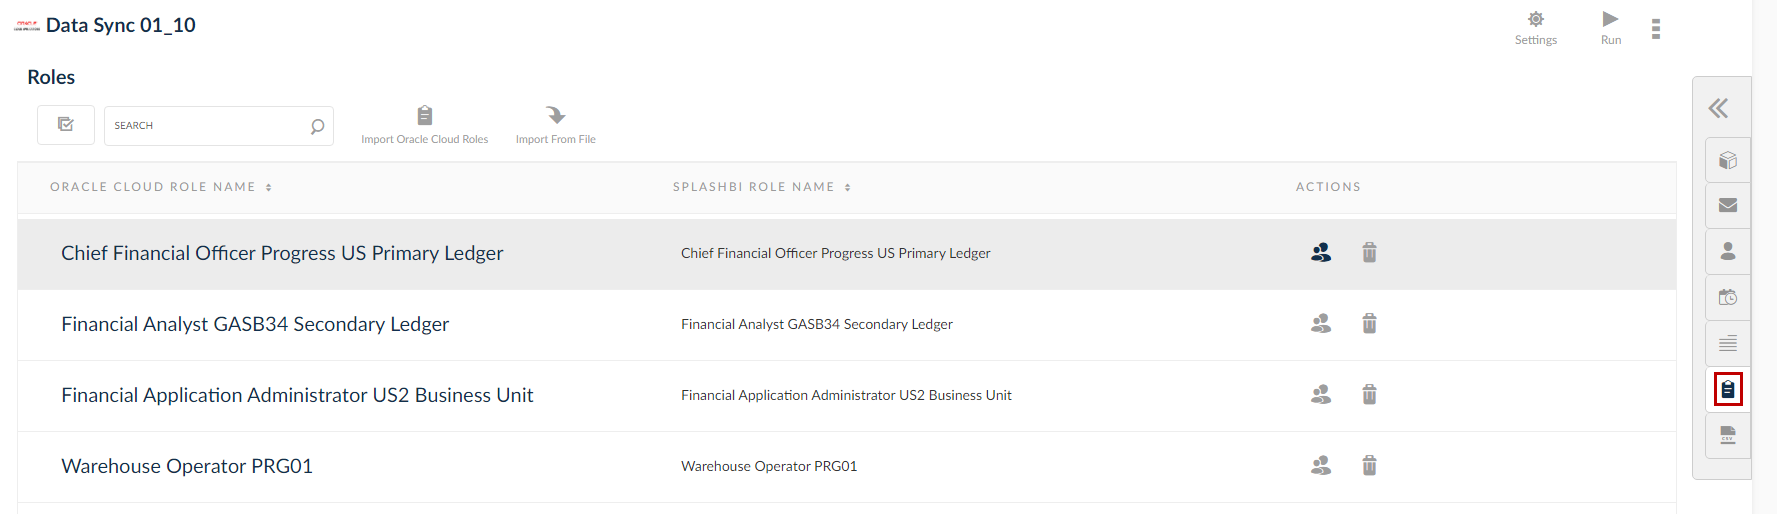
- Click the Roles
 icon to view the roles in the organizations.Assign these roles or view the persons assigned to these roles by clicking on the
  icon.
icon.
- Click the Save to Save the changes.
Edit Individual Object
Click the Edit icon corresponding to the objects to edit them.
Details Tab
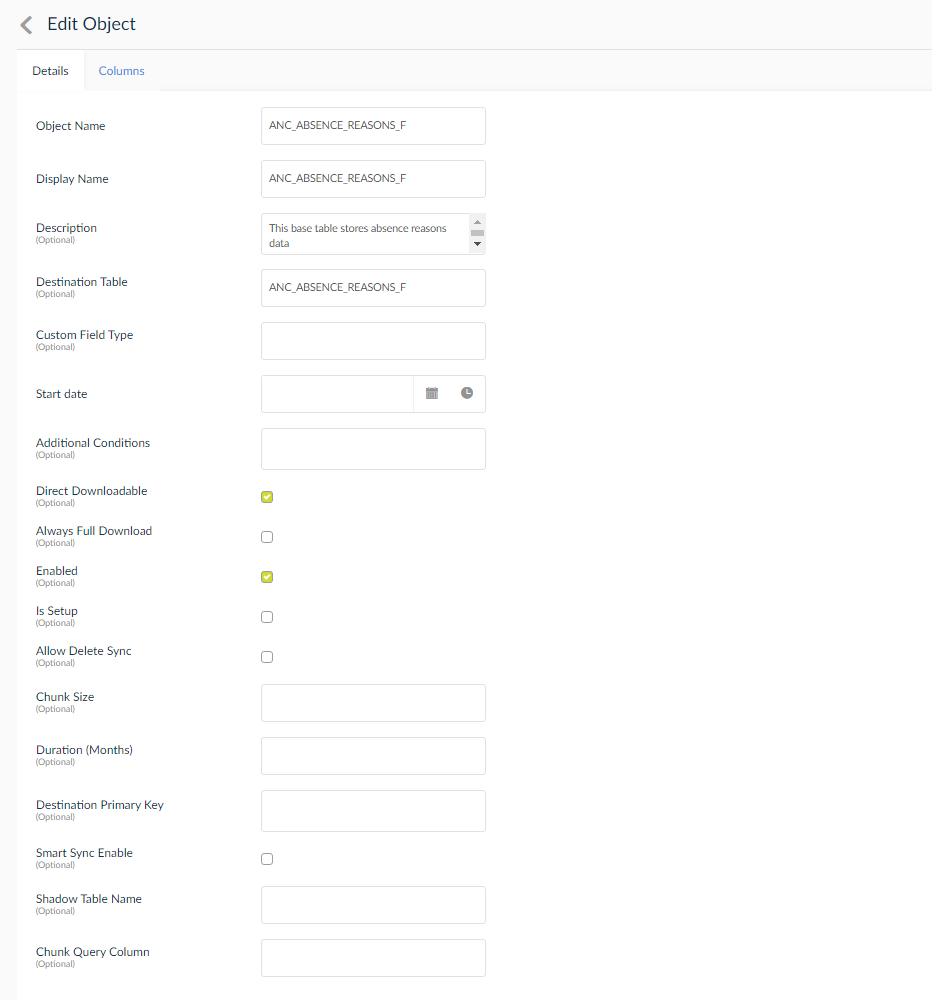
Fields Explained:
- Object Name: Here, the name of the object is displayed.
- Display Name: The display name of the object is displayed.
- Description: The description of the object is to be entered here.
- Destination Table: Enter the destination table name.
- Custom Field Type: Mention the type of the custom field.
- Start Date: Mention the start date from which the objects will be downloaded.
- Additional Conditions: Mention any additional conditions that would govern the object.
- Direct Downloadable: Check this option to download the object directly.
- Always Full Download: Checking this option will download the object table content completely.
- Enabled: Check to enable the visibility of the object.
- Is Setup: It is similar to always full download.
- Allow Delete Sync: This function compares the downloaded data with the data in the Oracle Cloud and deletes out of sync data.
- Chunk Size: Mention the size of the chunk of objects that can be downloaded at a time.
- Duration (Months): Mention the number of months of object data that needs to be downloaded.
- Destination Primary Key: Destination primary key is a concatenation of composite primary keys. Using this option will reduce the time taken to download the data from a table. The columns are provided for the field concatenated with a pipe (||) symbol.
- Smart Sync Enable: This option gives the details of those chunks that were deleted in the already downloaded chunks by syncing the downloaded chunks with that of the latest cloud data and updates the entries.
- Shadow Table Name: Shadow Table Name allows the reports to run safely by creating a shadow table of the object to sync with the cloud object. The naming convention of the sync table is taken as original table name succeeded by “_shd”. The shadow table once synced, will merge with the original table so created during the sync process. This function is used when the cloud object does not have a primary key.
- Chunk Query Column: Chunk Query Column takes into consideration the starting primary key and the ending primary key of a particular chunk value. ‘Last Update Date’ column is usually specified in the chunk query column as a bookmark for the next set of downloads.
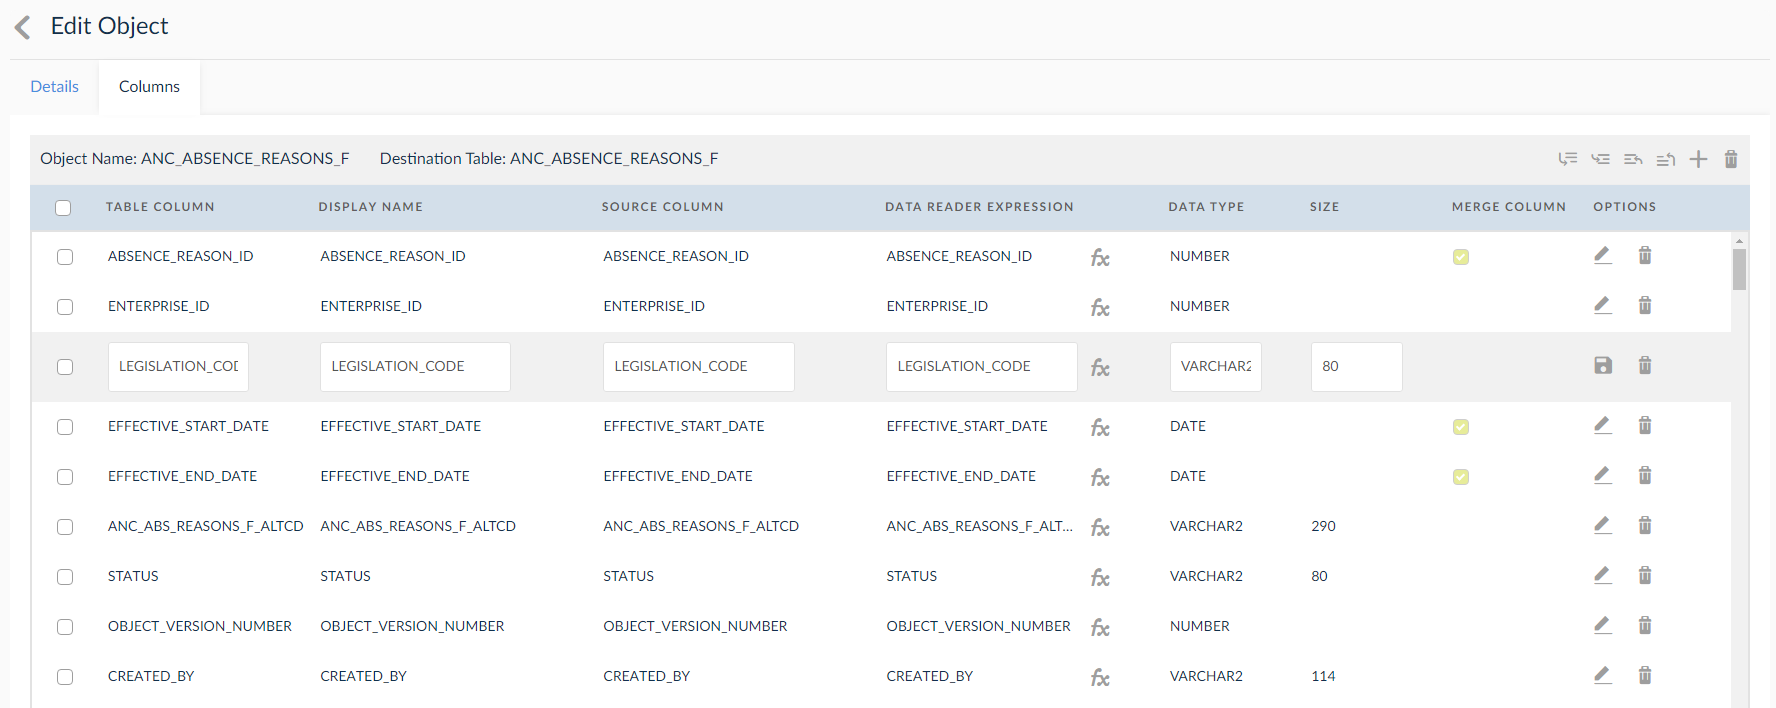
Columns Tab
Here, you can view, add, and edit the Table Column, Display Name of the table column, source column, data reader expression, data type, and size.
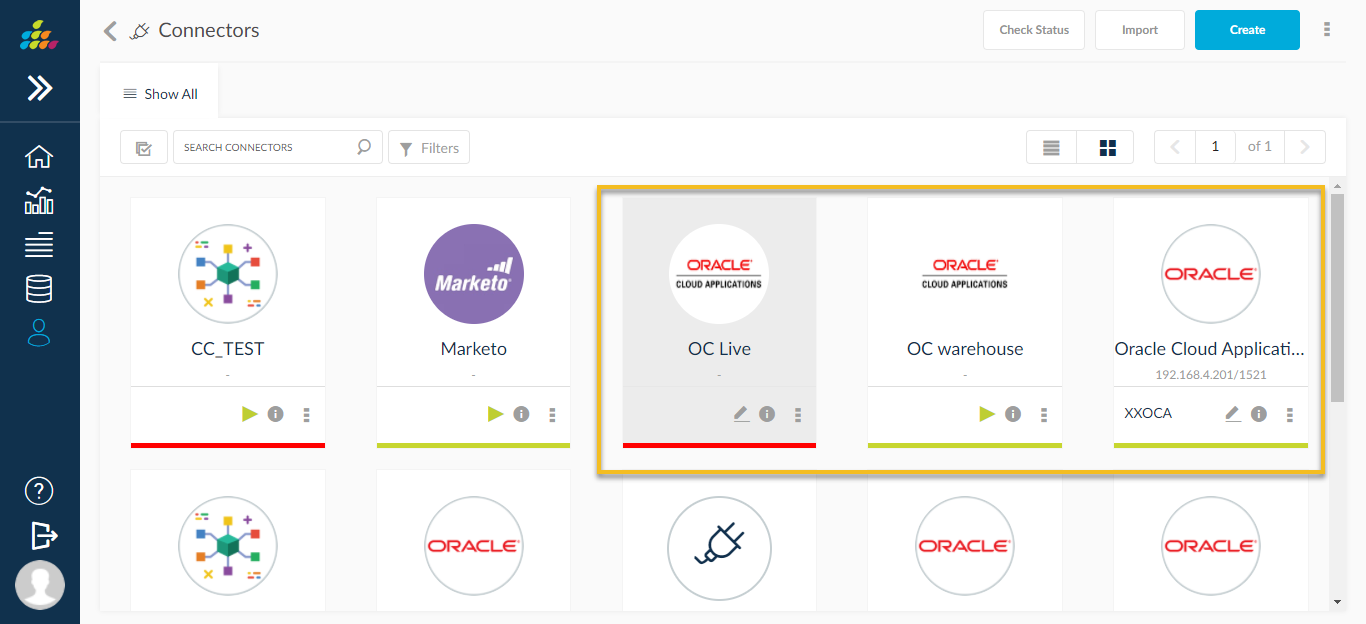
Status for Cloud connector
Added Status bar for oracle cloud connector as shown in below screen shot.
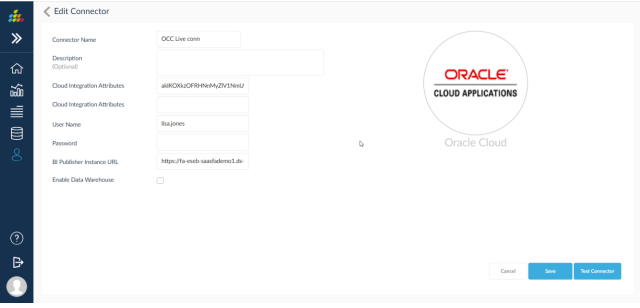
Oracle Cloud Applications Real Time reporting support
SplashBI now supports Oracle Cloud Real-Time reporting along with the Data Warehouse option currently available
Ability to run any seeded or custom report against Oracle Cloud Real-Time or Data Warehouse optionally during report submission itself as shown in the below screenshot.
These values can be defaulted or controlled by allowing Run type options at the user level in administrator →user settings level and report settings level has the Run type preference of the report.
Ability to write direct SQL-based queries to run against Oracle Cloud Real-Time.
Ability to write List of Values to run against Oracle Cloud Real-Time