Creating and Editing Connections
Connections can be created and modified easily with just a few simple steps.
NOTE: The user needs to have SplashBI Administrator privilege to create or edit connection.

Creating a Connection
- To create a new connection, click the Create icon at the top of the screen.
![]()
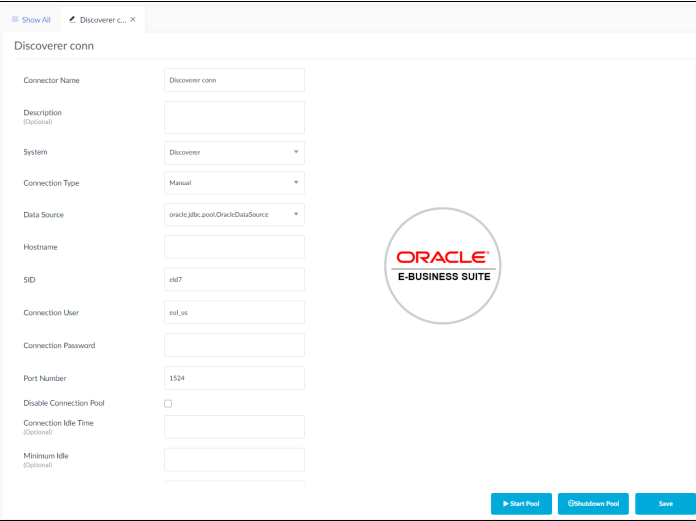
2. Enter all the mandatory values in the Create Connection window. Three different types of connections can be created: Manual, JNDI and Cloud.
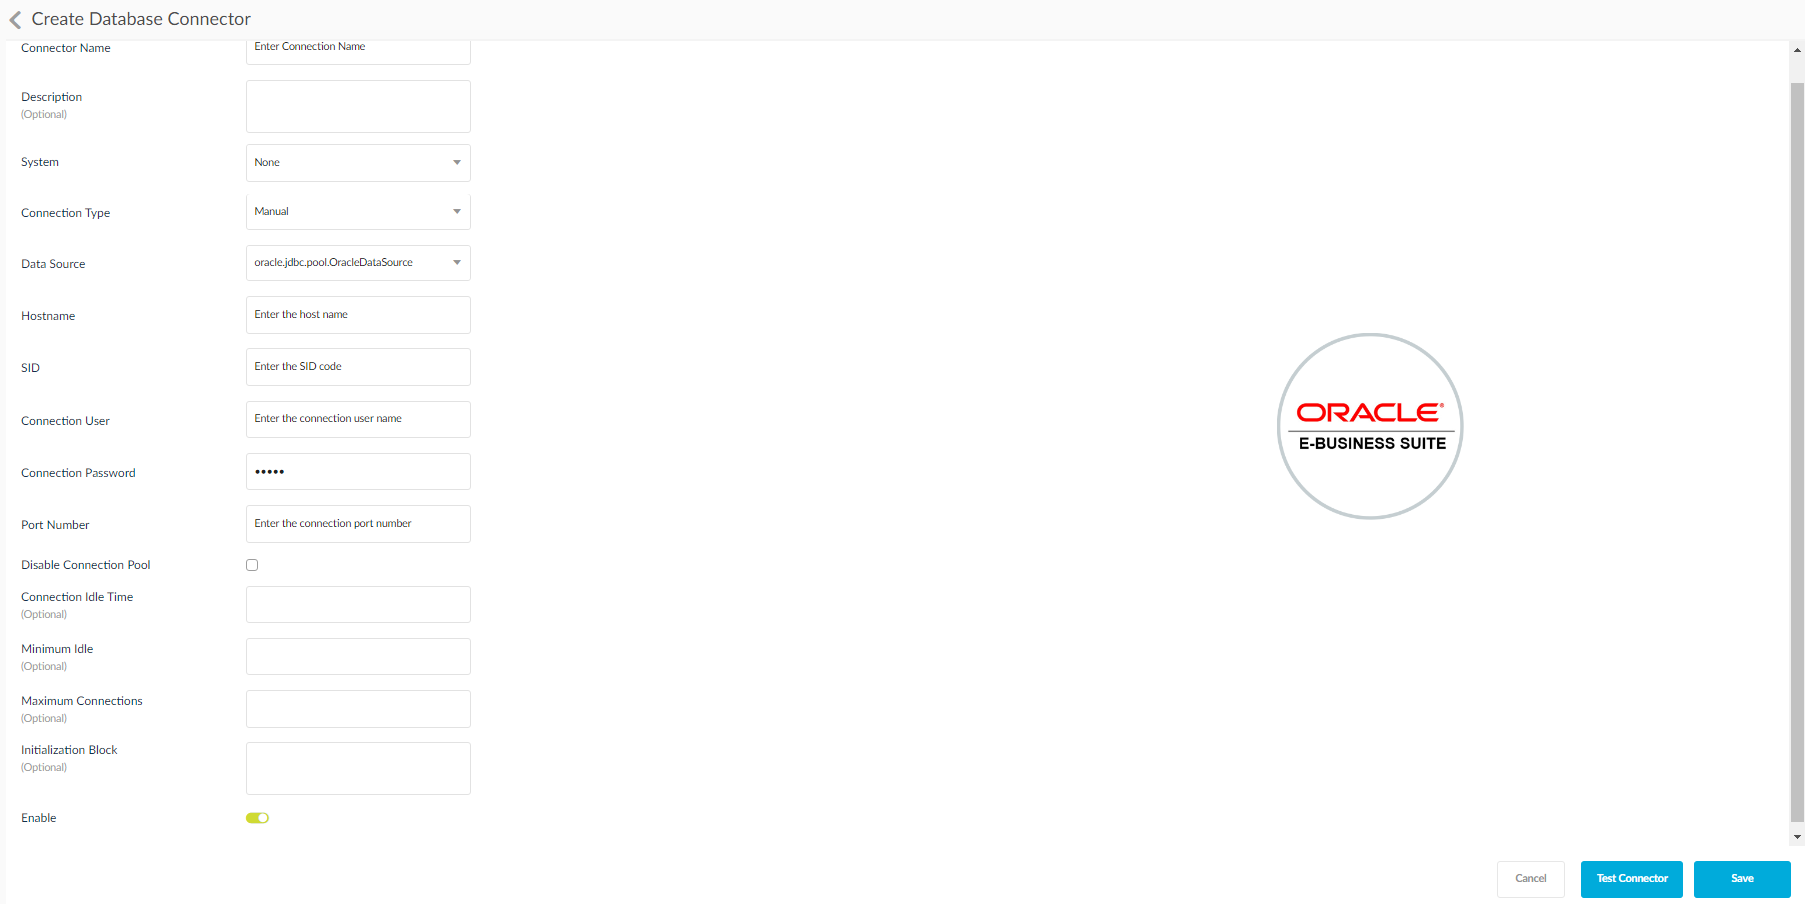
Manual Connection
Enter the database name, type, SID, port number, host, database user name and password for this type of connection. Oracle SID is the unique name that uniquely identifies your instance/database.
SplashBI provides some settings to ensure the database that SplashBI connects to execute reports can be monitored or controlled with some parameters mentioned below.
Disable Connection Pool: If the disable connection pool option is set, then the SplashBI tool will not allow any connection from SplashBI to the specified connection. SplashBI blocks all the communication to that database. There will not be any connection pool opened against the source database.
When there is a requirement for database password change , customer should follow below steps to
avoid database account locked error.
- Edit the connector and select “Disable Connection Pool” checkbox
- Save the connector
- Shutdown the application server
- Change the database password
- Bring the application server up
- Update the password & uncheck the checkbox for “Disable Connection Pool” field in the connectors screen for all connections connected to that database.
- Save the connector
Connection Idle Time: Idle time that SplashBI can wait to remove the connection from the pool.
Minimum Idle Number of Connections: SplashBI uses a concept of connection pooling, connection pooling needs a minimum number of connections to be there in the pool in Idle state so that when the request comes then these connections will serve the request, in a way user will not feel any wait time. This field defines how many minimum numbers of idle connections to be available in the connection pool. The default is 5.
Maximum Connections:Maximum number of connections that SplashBI can open with the database.
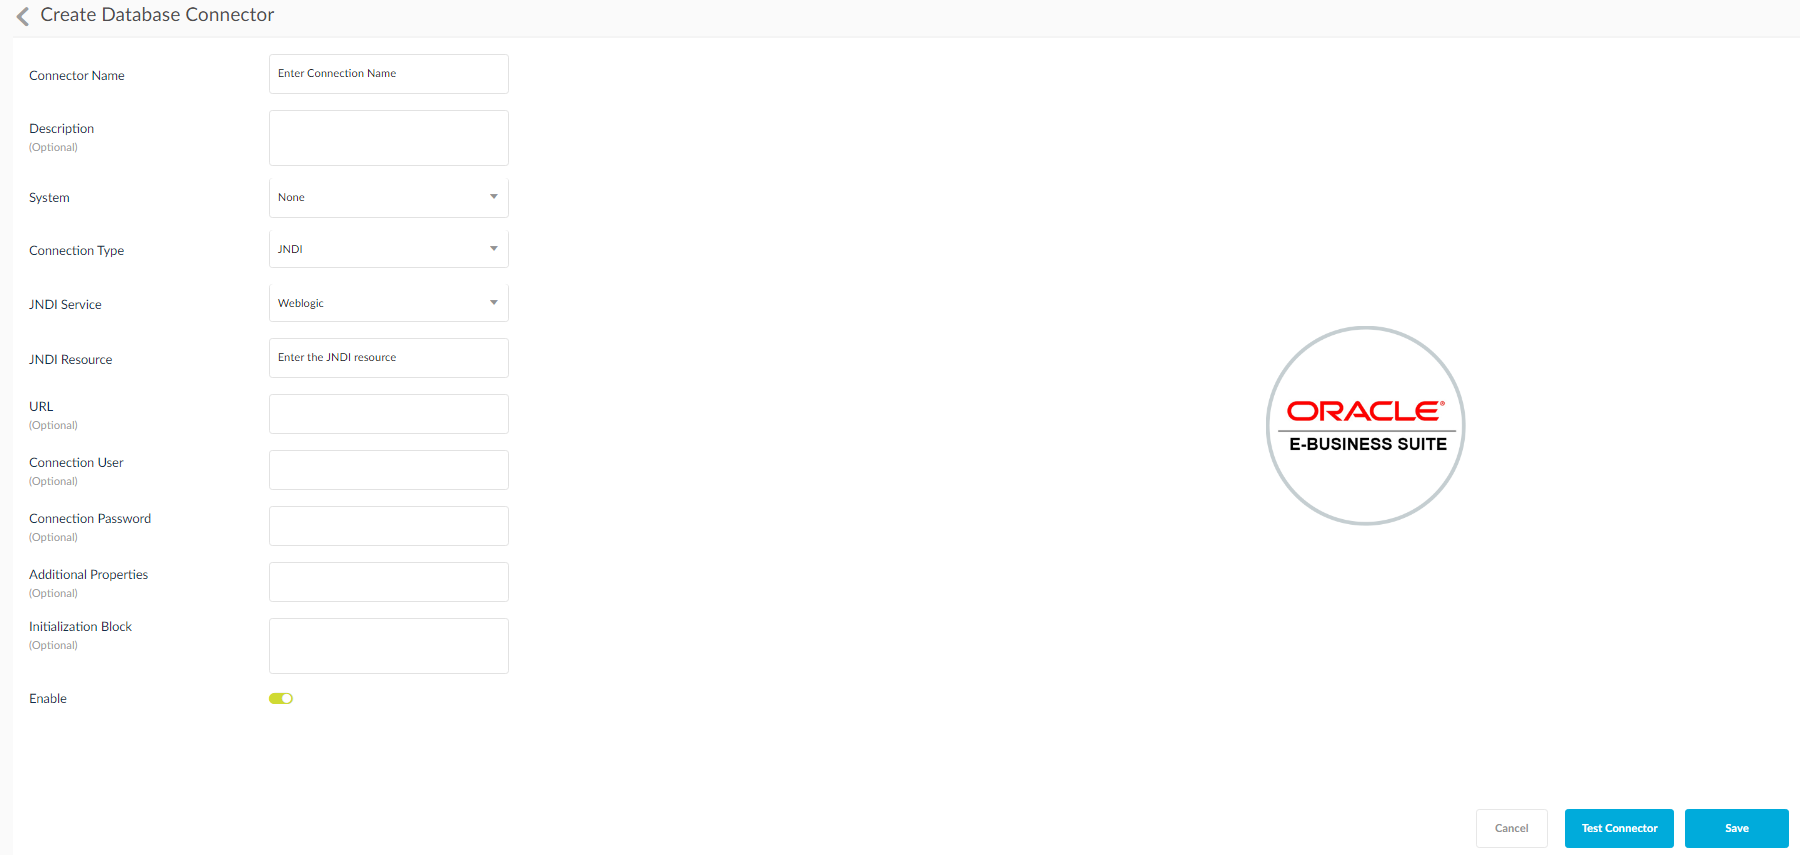
JNDI (Java Naming and Directory Interface) Connection
JNDI is a standard Java API for a directory service that allows Java software clients to discover and look up data and objects via a name.
- In the connections window, click JNDI Radio button.
- Enter the details for Connection Name, Description, Database Type, System and the JNDI Resource.
- Click Save.
In all the connection windows:

Save: Click to save the connection.
Test Connection: Click to test the connection.
Cancel: Click to cancel the operation
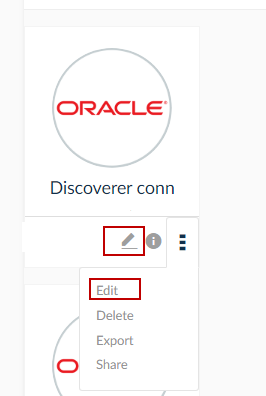
Editing a Connection
To edit an existing connection:
- Find the one to edit.
- Click the
 icon as shown in the screen below.
- Edit Icon in List View
![]()
- Edit Icon in Grid View
3. Modify the entries.
5. Click Save to save the connection changes.
My SQL Connection
When you choose MySQL connection there is a special option called as Server Time Zone, this is only exclusive to MySQL connection.
The server residing time zone can be mentioned as input, based on which a connection to that data base will be established from SplashBI using the time some given. If the time zone is not given, then the SplashBI application server's time zone will be taken into consideration.

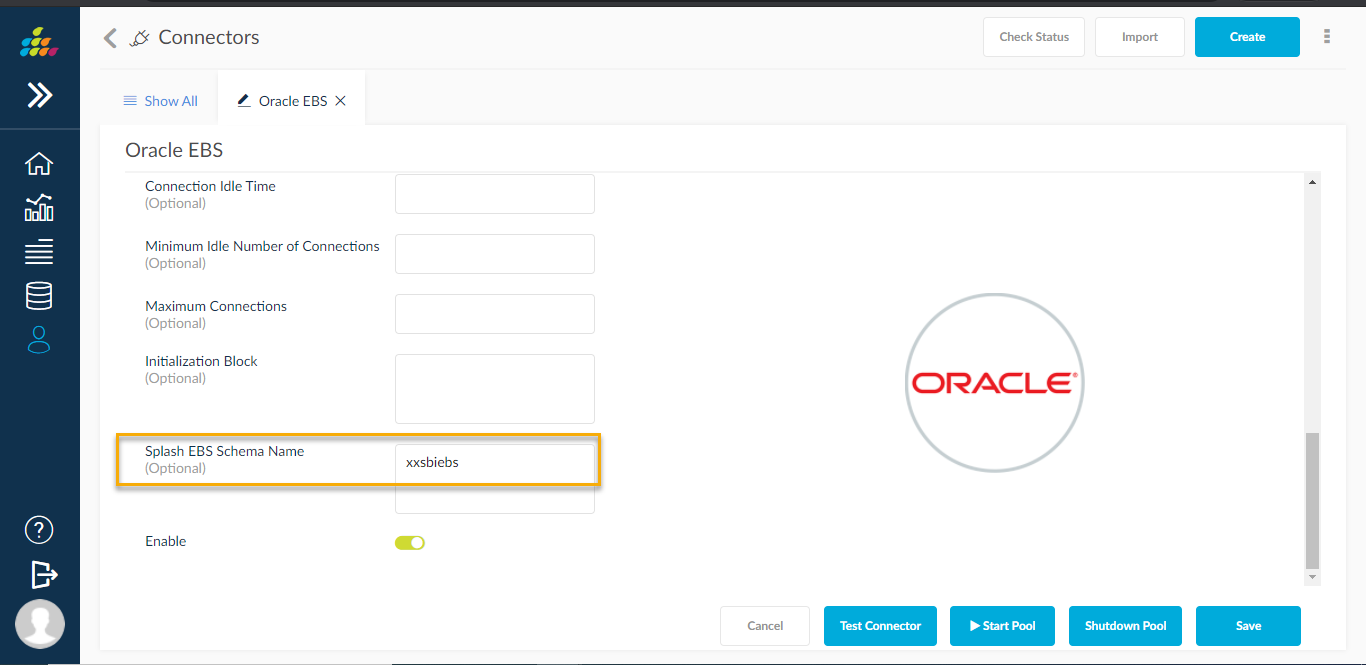
In Splash EBS schema filed user can give to schema name, using this schema name our application user can access that schema directly.