Create User
Within the administrator, there are roles with several setting actions that can set up in user setups and global settings. For additional settings, see Global Settings.
Administrators can delete users in SplashBI three different ways:
- A multi-delete of users from the Users List view.
- Single user delete from the Users Grid view.
- Single user delete from the Users List view.

Creating Users
- Click the
 icon to display a pop-up.
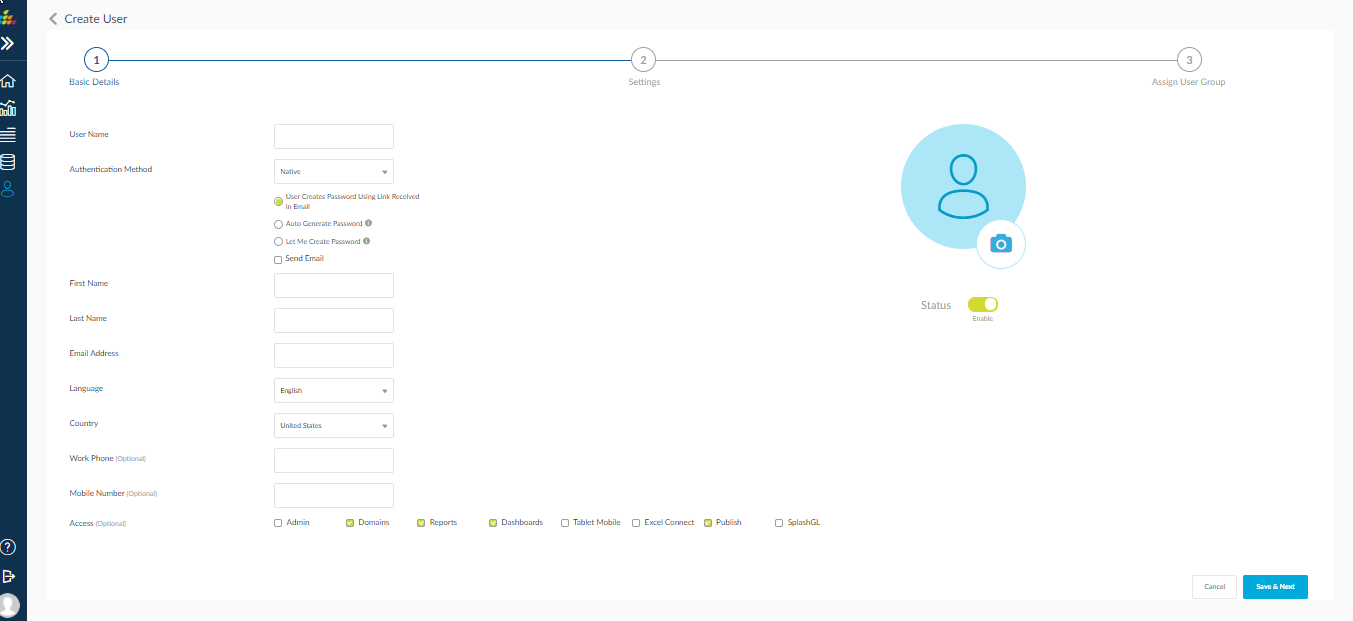
 - In the Create User pop-up enter the fields.
- User Name: User Name is a required field. E.g. Employee ID, First Name, etc.
- Authentication Method: The authentication method determines the password that will be used to authenticate the user at the time of login. Here there are multiple options:
- Native: This is the default option. Native authentication allows the administrator to specify the password that needs to be used for the user or allow the password to be generated automatically.
- Oracle E-business suite: By choosing this option the user is specifying that Oracle EBS credentials will be used for authenticating SplashBI user login.
- Oracle Database: By choosing this option the user is specifying that the password of the Oracle database user will be used to authenticate SplashBI user login.
- Peoplesoft: By choosing this option the user is specifying that Peoplesoft account credentials will be used to authenticate SplashBI login.
- Active Directory: By choosing this option the user is specifying that active directory credentials will be used to authenticate SplashBI login..
- SAML: By choosing this option the user is specifying that the sing-sign on authentication will be honored.
- Password: The password field will show up when Native is chosen as the authentication method. Manually set a password or have the system generate a password for the user. SplashBI also sends out an email notification to the user with the password information.
User Creates Password Using Link Received in Email:
In user create page when we select authentication method is “Native” added new option to set password for user using activate code through email.
When click on radio button “User Creates Password Using Link Received in Email” and click on “Send Email” check-box to receive password activation link, this activation link will expire in 24 hours if not used.
Auto Generate Password: Using this option we can auto generate password, generated password will to user’s email.
Let Me Create Password: Using this option we create our own password.
Send Email: Using this option we can receive the generated password (or) password link URL to set new password
- First Name:The First Name is entered here for the newly created user.
- Last Name: Enter the user's Last Name in this field.
- Email Address: Any Email Address can be entered in this field, but the best practice is to use a company email address.
- Language: The Language is set to default to American English.
- Country: The Country can be chosen using the drop down.
- If the Enable option is checked, this means the user is in an active state and can login and access the application.
- Access: The privileges that should be assigned to the users can be selected under the Access field. The Access field contains four options (Admin, Domains, Reports, Dashboards, Tablet Mobile, Excel Connect, Integrations). By selecting the applicable options, the user will get access to the respective functionalities under their login.
- Click the Choose File
 button to upload a user image.
 - Click Save.
Single User Delete - List View
Administrators can delete users who are no longer with the company to keep management of the users clean and up-to-date.
To Delete Single User:
- From the administrator view, click the Users image.
- From the users list view, click the Delete
 icon.
icon. - The administrator will receive a warning message, click OK. Else, click Cancel.
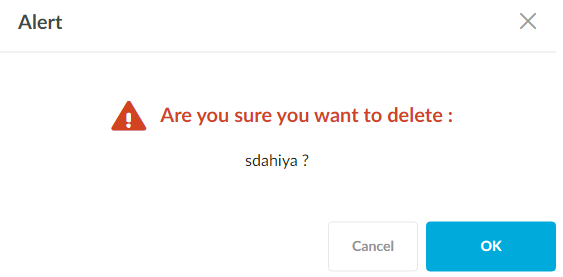
4. A success message User deleted successfully is displayed. Click the Dismiss mark to close the dialog box.
![]()
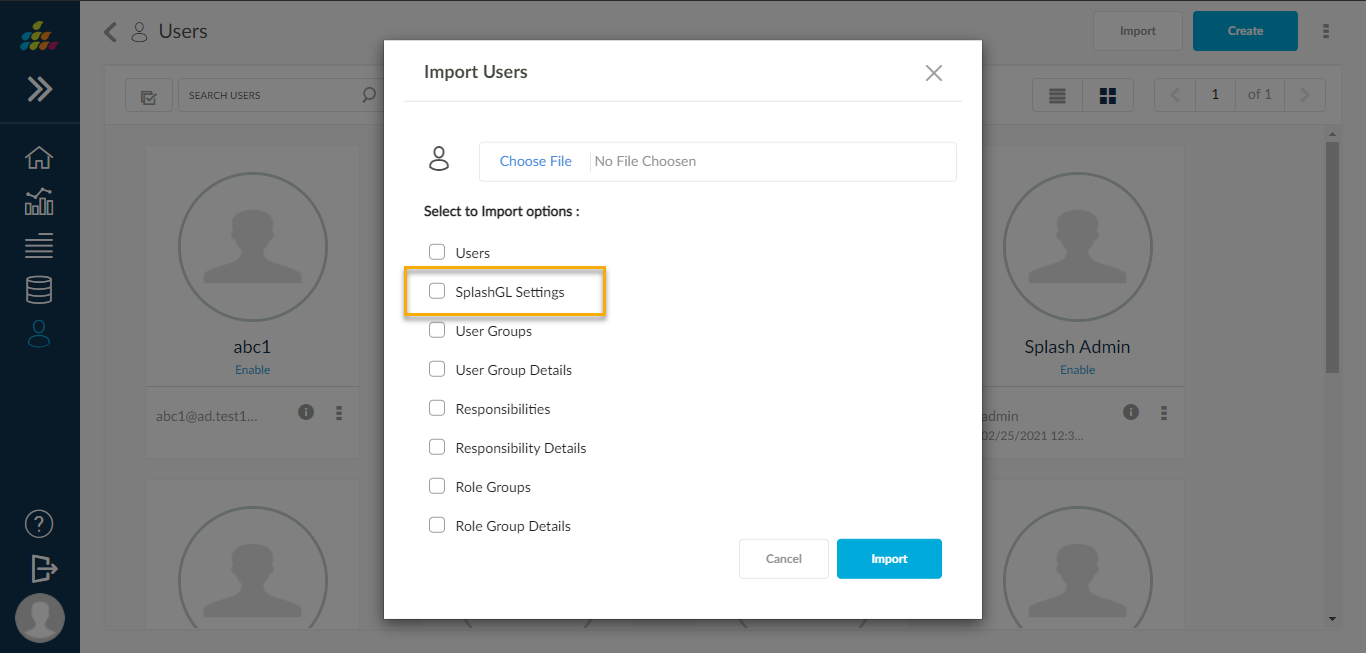
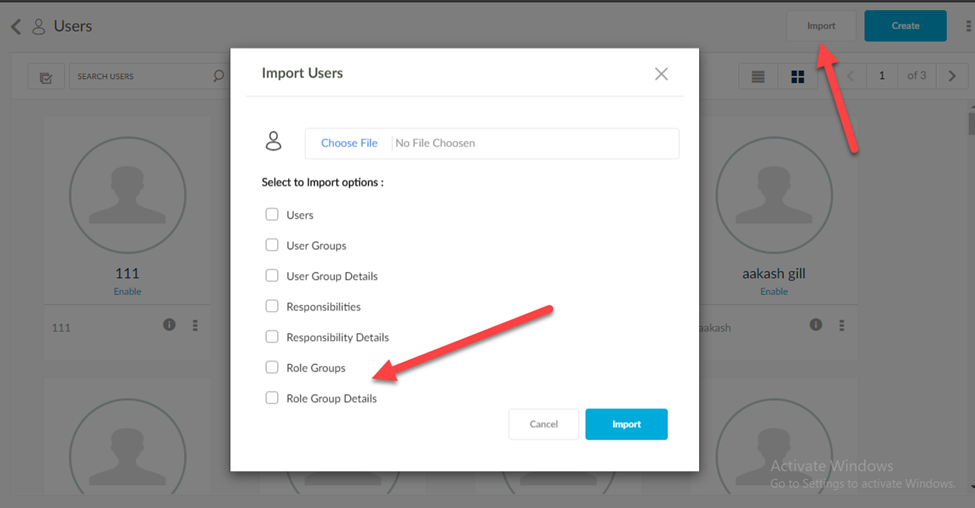
Import Users
Click Import on the top right corner to initiate import users process from a flat file. If users are successfully imported into local, a window will be displayed with the message Imported users successfully. Else, an error message will be displayed.
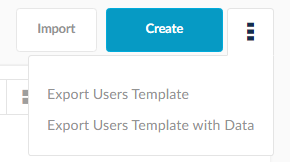
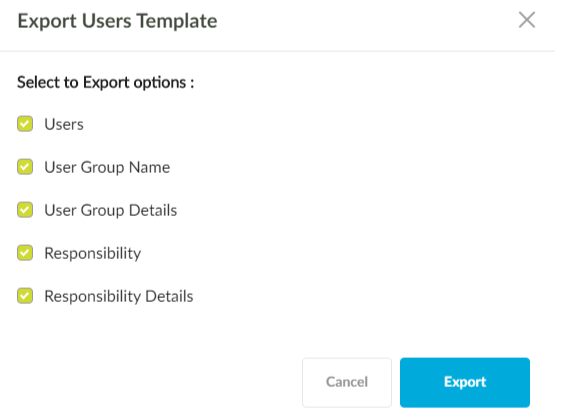
Export Users Template
Click the three dotted icon next to Create and click Export Users Template. This file can be used to create users with the import option. You can export the users, user group name, user group details, responsibility, and responsibility details.
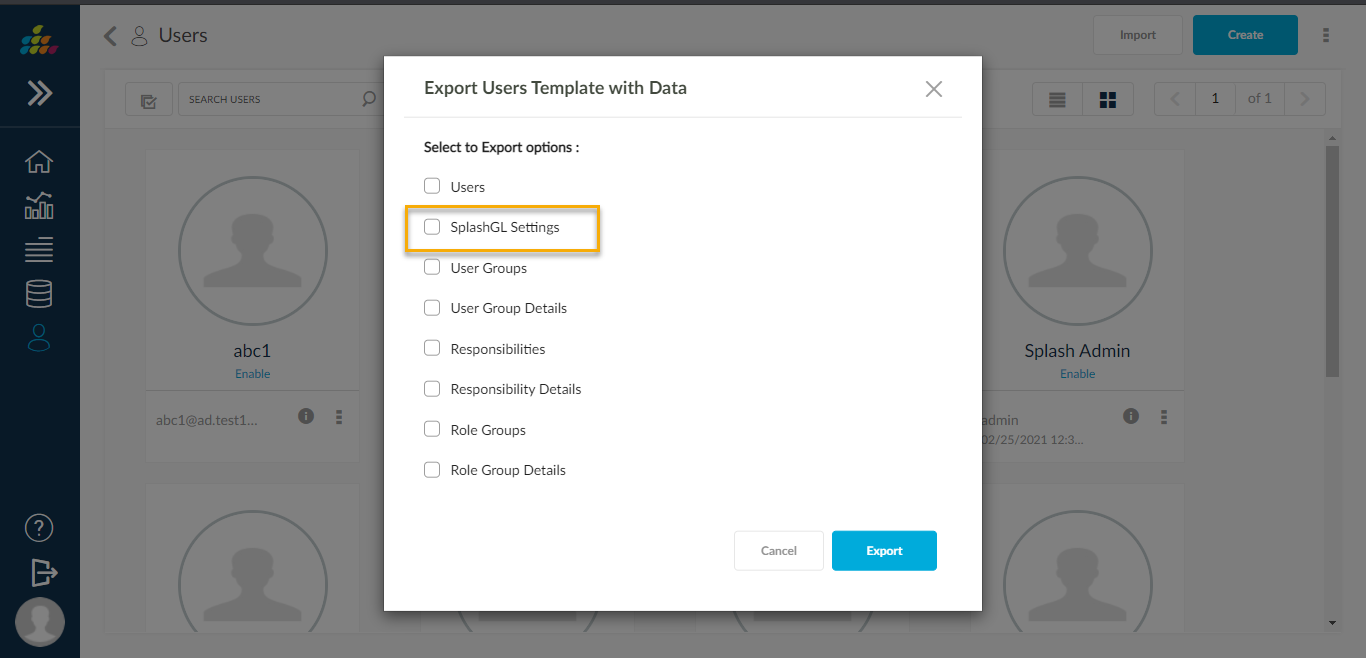
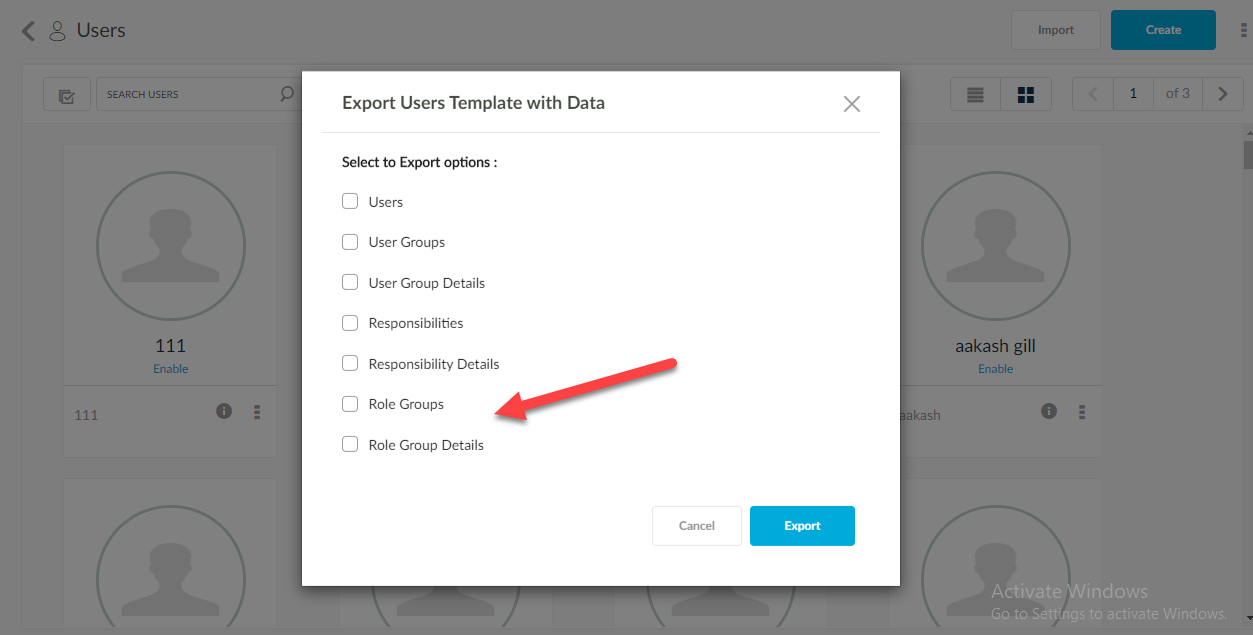
Export Users Template with Data
Click the three dotted icon next to Create and click Export Users Template with Data to download a file with the details of the users that are created in the current instance. This Excel template can be used to load users into other instances or update user's information in the current instance. You can export the users, user group name, user group details, responsibility, and responsibility details.
New options (Role Groups and Role Group Details) added in Users Import and Users Export excel operations.
SplashGL Settings
New options (SplashGL Settings) added in Users Import and Export excel operations.
Using this option user can Export and import SplashGL user type settings.