Import Report
SplashBI allows organizations to import reports from other instances located from a local zip file or paste an XML statement. In this section, we will discuss the two ways a report can be imported into SplashBI. Import reports by clicking Import icon.
Zip File Method
The main purpose for importing one or multiple reports using the zip file method is for migrating custom reports created in one instance and importing those custom reports into another instance. When the reports are exported, it creates a zip file. The same file can be used to import the report into another instance.
To import a file using the zip file method:
- Click the Import to display a pop-up.
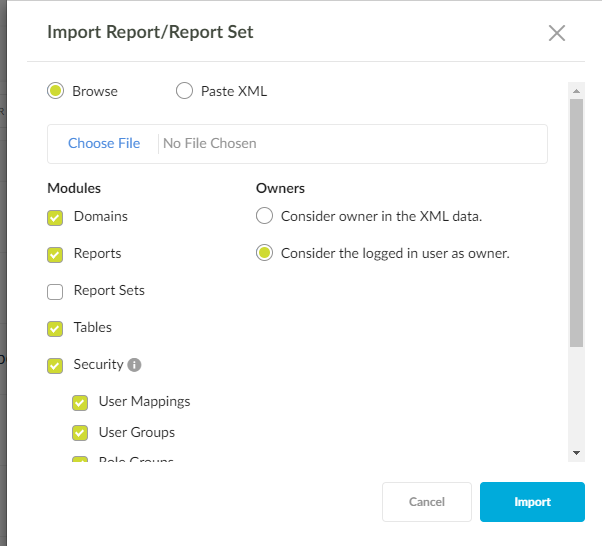
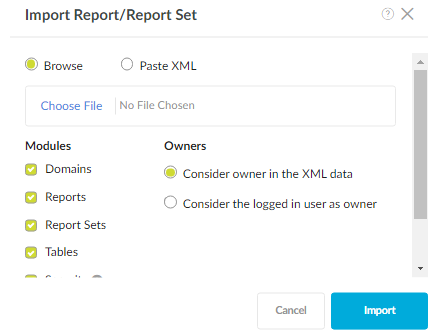
- In the Import Report/Import Report Set pop-up, choose the Browse option.
- Click the Choose File to choose the ZIP file from the local file system.
- Select the Report/Report Sets check boxes in the Modules section.
- Under the Owners section, select the appropriate option.
- Click OK.
NOTE: The report will be created based on XML file details available in the zip file.
Paste XML Method
This method was designed for migrating one report from one instance to another.
- Click the Import to display a pop-up.
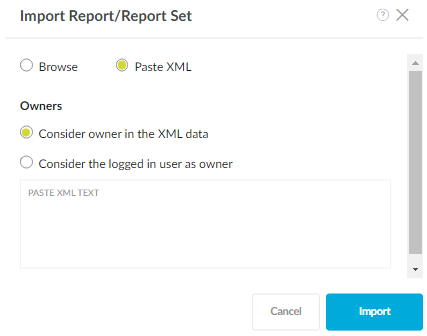
- In the Import Report/Import Report Set pop-up, choose the Paste XML option.
- Paste the XML link in the text box.
- Under the Owners section, select the appropriate option.
- Click OK.
NOTE:
- After clicking OK, click the Refresh icon to display the imported report in the Reports list. Search for the report in the search field found in the Report List View.
- If the imported report's domain name does not exist in the target domain, a domain is created in
a new instance.
Security Options In Import
The options User Mappings, User Groups, Responsibilities,Share will be shown only then the Security option in the import screen.