OAuth2 Settings
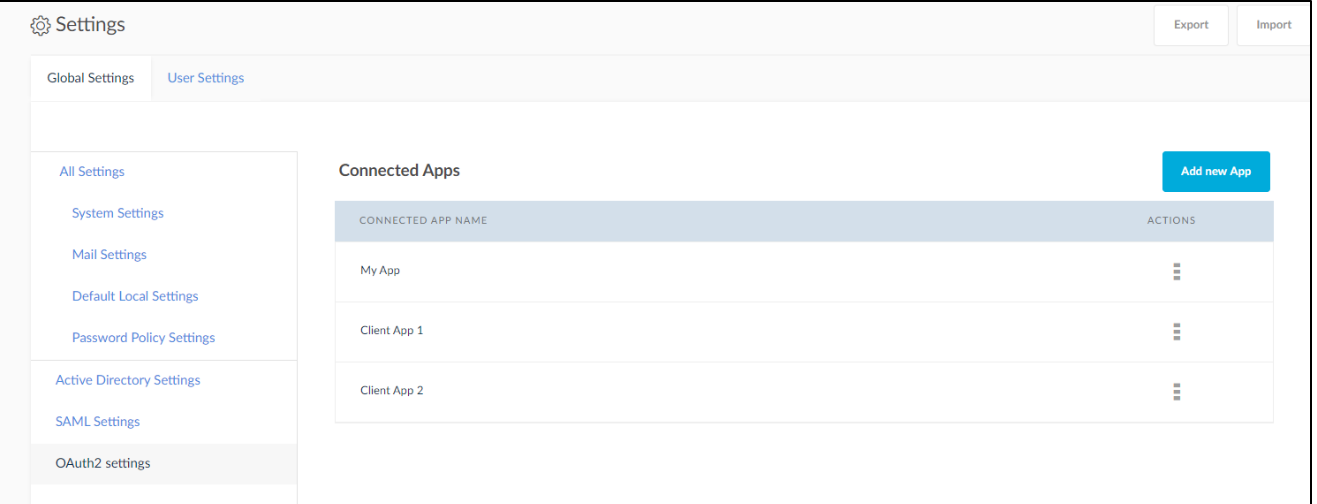
The OAuth2 credentials should be used to fire the Embedded applications from third party sites, this will avoid users to enter their credentials during the chart/dashboard rendering process. To implement the SplashBI as OAuth2 authentication provider, it requires some settings to be added by administrator in SplashBI. The setting screens are accessible by administrator and they will allow admin to create OAuth2 connected apps and manage security tokens. The user can have more than one connected app, Add New App button allows admin to add new connected app to the system.
Navigation
- Admin --> Settings --> OAuth2 Settings --> Add New App.
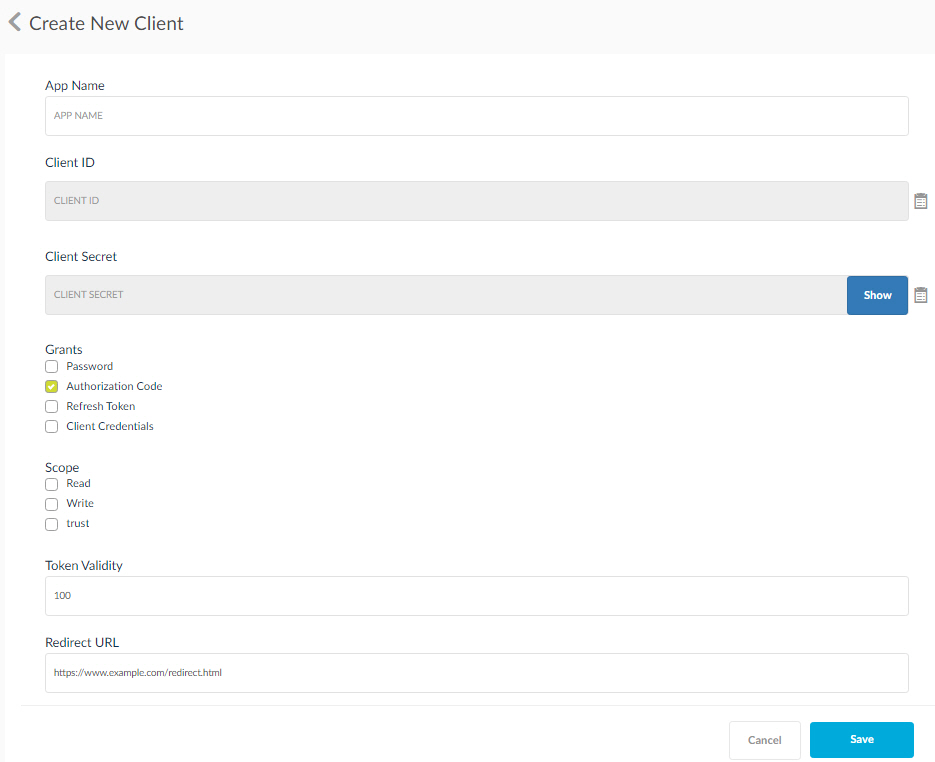
Adding new Connected App
- Click Add New App.
- Following are the list of fields to be given while creating the connected app.
- App Name (Any user-friendly app name)
- Client_id (Auto generated, non-editable).
- Client_secret (Auto generated, not editable), it is masked by *.
- Grants (Check all the flows that are needed for the connected app)
- Scope (It is a check box with values, Charts Read, Report Read, User Management)
- Token Validity (it is in seconds, default should be 60sec)
- Redirect URL (give the call back URL)
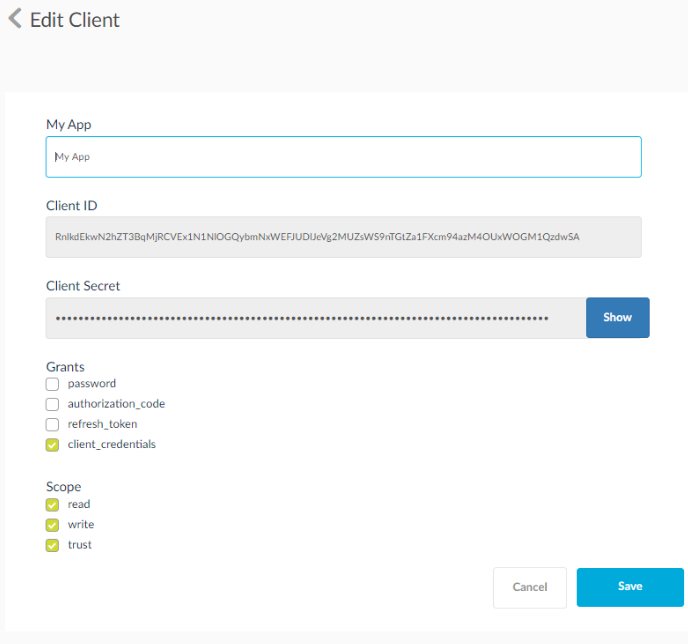
Connected Apps List
- Admin can create more than one connected apps in the system, all the connected app is listed in this screen as shown below.
- Each connected app contains some action buttons, like edit and delete.
- To view the connected app details, click on the action icon, click edit to see the details.
- Click on View App from action menu.
- Get the Client_Id and Client_Secret.
- Click Save.